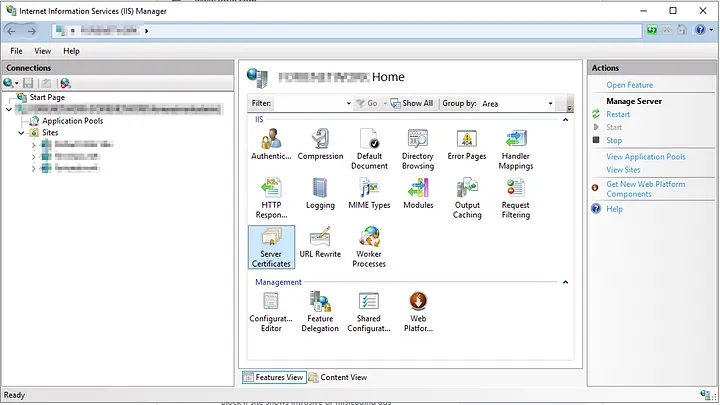
Web security holds significant importance for the security of online activities nowadays. SSL (Secure Sockets Layer) certificates play a critical role in the security of websites and applications. This article outlines the steps to create and manage an SSL certificate on a Windows Server.
Step 1: Generating a .CSR File:
- Open the IIS (Internet Information Services) management tool on your Windows Server.
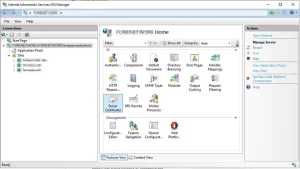
- Go to “Server Certificates.”
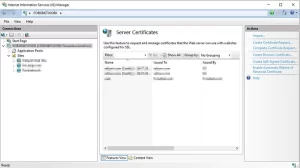
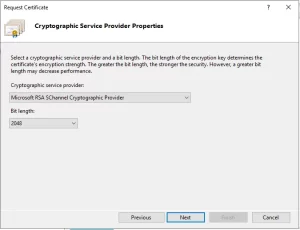
- Click on “Create Certificate Request.”
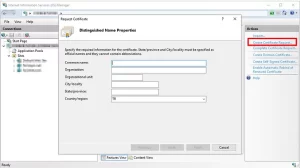
- Fill in the required details: domain name, organization name, country, etc.

- Save the .CSR (Certificate Signing Request) file.
 ...
...

