ELK Stack (Elasticsearch, Logstash, Kibana Stack) is a data analysis and visualization platform where Elasticsearch, Logstash, and Kibana are brought together. These three open-source components are used collectively to gather, process, analyze, and visualize unstructured data. ELK Stack offers a powerful toolkit for organizations aiming to effectively work with large datasets.
Here are the fundamental components of ELK Stack:

1. Elasticsearch: Elasticsearch is a search and analytics engine that provides rapid search, querying, and indexing capabilities for unstructured data. By swiftly indexing and storing data, it facilitates easy access to information. Elasticsearch is used to handle various types of unstructured data such as text documents, log files, time series data, and other non-structured data.

2. Logstash: Logstash collects data from various sources, processes and transforms it, and then directs it to Elasticsearch or other destinations. Logstash plays a significant role in data collection, processing, and transformation stages. With Logstash, it is possible to organize, filter, enrich, and convert data into different formats.

3. Kibana: Kibana is used to visualize, analyze, and share data from Elasticsearch. Through Kibana, users can discover data, create diverse visual elements, and build dashboards to effectively present information.
When these three components come together, organizations can collect, process, analyze, and visualize their data. ELK Stack can be employed for handling various data types such as application logs, network logs, text documents, performance metrics, and more. Moreover, the flexible nature of ELK Stack enables the creation of customized solutions and addressing unique data analysis needs.
Installation and Configuration of ELK Stack (Elasticsearch, Logstash, Kibana) on Windows Server can be achieved through the following steps:
1: Java Installation:
Java is required to run Elasticsearch and Logstash. I recommend using OpenJDK instead of the official Oracle JDK. Follow the steps to download and install OpenJDK.
2: Elasticsearch Download and Installation:
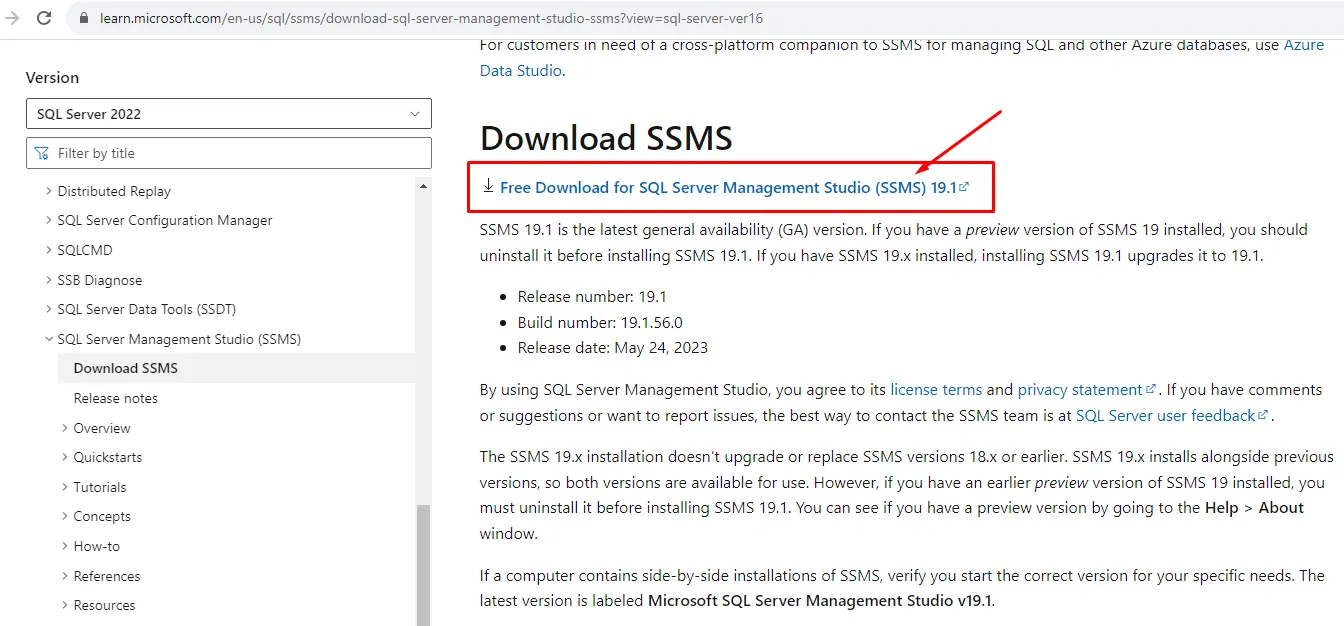
2.1. Download the suitable version of Elasticsearch for Windows from the official Elasticsearch website: https://www.elastic.co/downloads/elasticsearch
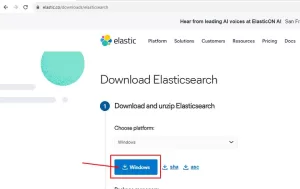
- Extract the downloaded compressed file to a folder.
2.2. Configuration File (elasticsearch.yml):
- The configuration file for Elasticsearch is located in the “config” folder.
- Open the “elasticsearch.yml” file with a text editor.
- Make the necessary configurations.
2.3. Starting Elasticsearch as a Service:
- To run Elasticsearch as a Windows service, locate the “elasticsearch-service.bat” file in the “bin” folder.

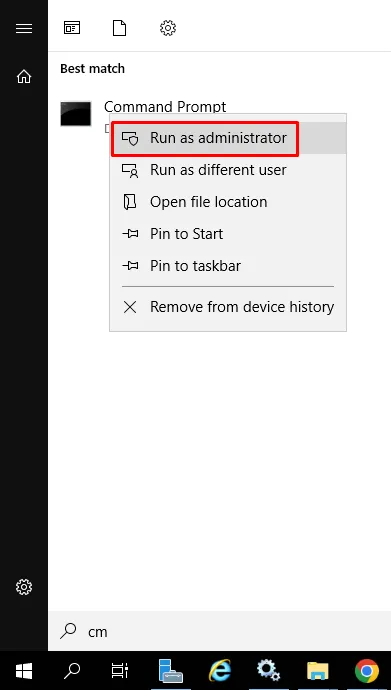
- Open the command prompt as an administrator (right-click and select “Run as administrator”) and navigate to the relevant directory.
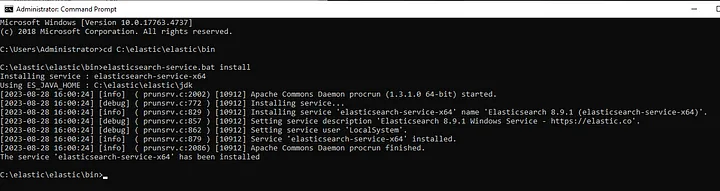
- Use the command
elasticsearch-service.bat installto register Elasticsearch as a service.
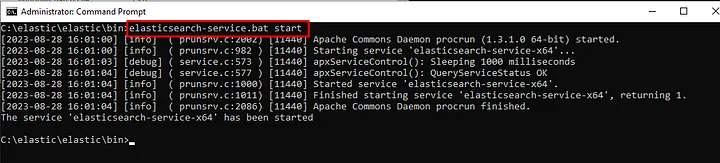
- Then, start the Elasticsearch service using the command
elasticsearch-service.bat start.
- You can stop or manage the service using the command
elasticsearch-service.bat manager.
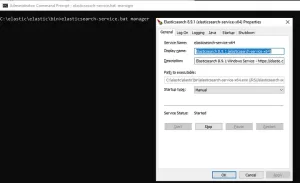
2.4. After these steps, check whether the Elasticsearch service is installed and running:
- Go to Start > Run > services.msc, and verify that the Elasticsearch service is installed and running.

3. Installation of Logstash:
3.1. Download Logstash: Obtain the appropriate Logstash file for Windows from the official Logstash download page: https://www.elastic.co/downloads/logstash
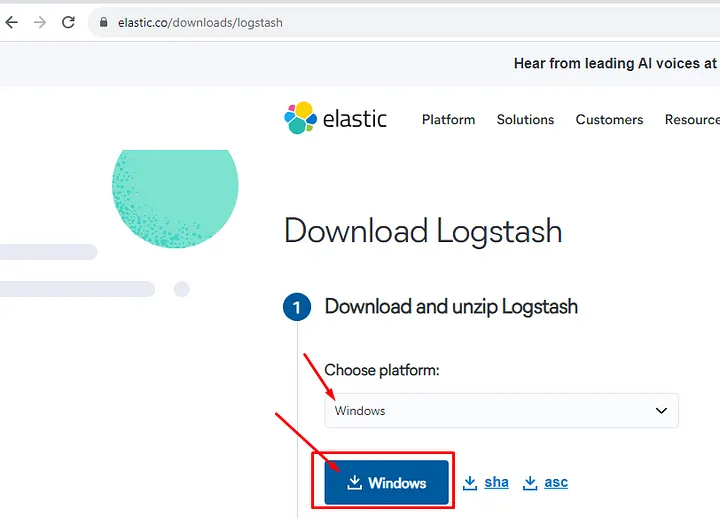
3.2. Extract the downloaded compressed file to a folder.
3.3. Configuring Logstash via logstash.yml:
Logstash is configured through the “logstash.yml” file, typically located in the “config” subdirectory within the Logstash installation directory. In the configuration file, you can set up input, filter, and output settings. Additionally, you define the pipeline processing logic here.
3.4. Running Logstash:
To run Logstash, open the command prompt, navigate to the Logstash installation directory, and use the following command to start Logstash:
bin\logstash -f logstash.conf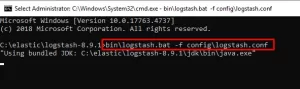
4. Installation of Kibana:
4.1. Download Kibana: Download the suitable Kibana file for Windows from the official Kibana download page: https://www.elastic.co/downloads/kibana

4.2. Extract the downloaded compressed file to a folder.
4.3. Configure Kibana: Edit the Kibana configuration file (kibana.yml) to make your configurations (e.g., Elasticsearch connection settings, etc.).
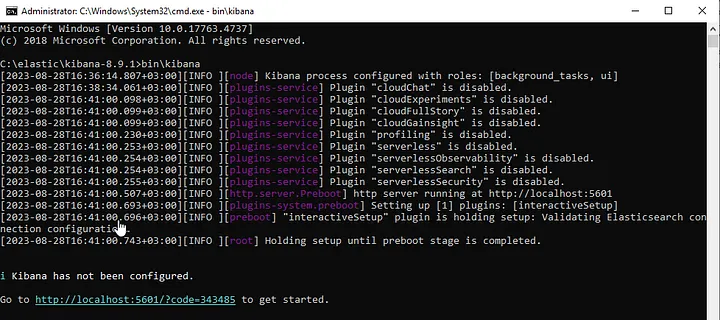
4.4. Running Kibana: Open the command prompt, navigate to the Kibana installation directory, and use the following command to start the service:
bin\kibana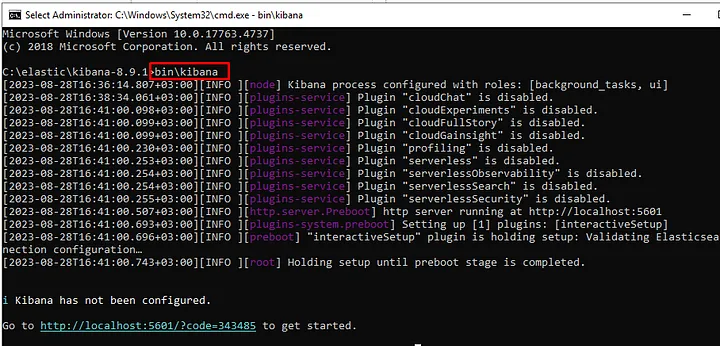
Installation is complete, now we move on to configuration settings:
Elasticsearch’s security features can vary depending on the version of Elasticsearch you are using. Starting from version 6.8.0, basic security features (Security) are enabled by default in Elasticsearch. These features include user authentication, role-based access control, and encryption.
In Elasticsearch 7.0.0 and later versions, there is a built-in “elastic” user with a default password. This user can be used for administrative tasks. The credentials for the default “elastic” user are as follows: Username: elastic, Password: A randomly generated password in these versions, printed to the console when Elasticsearch is started.
However, for security reasons, it’s highly recommended to promptly change this default password. It’s advised to replace the randomly generated password with a secure one as soon as Elasticsearch is started.
For the most up-to-date information about Elasticsearch versions and security features, you can refer to the official Elasticsearch documentation or other reliable sources. Security features can evolve over time, so checking the official Elasticsearch documentation is advisable for staying informed.
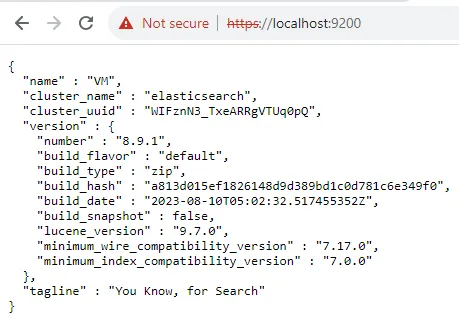
https://localhost:9200/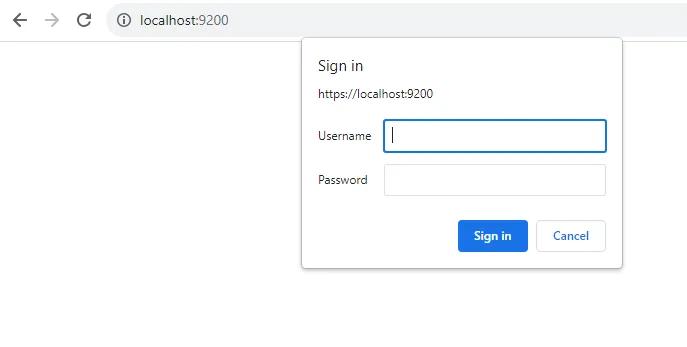
Username: elastic
Password: Enter the password that was generated during the initial installation, found in the “log” folder within the Elasticsearch directory.
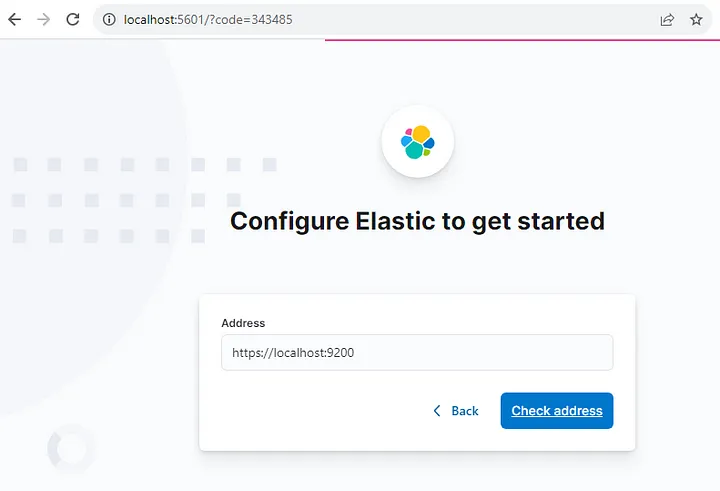
- Open your web browser and navigate to
http://localhost:5601. This address is the default location where Kibana operates.

- At this step, it requires you to generate a token.
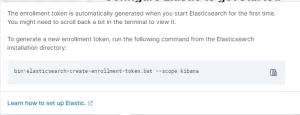
- To generate the token, you need to run the relevant command in the command prompt.
bin\elasticsearch-create-enrollment-token.bat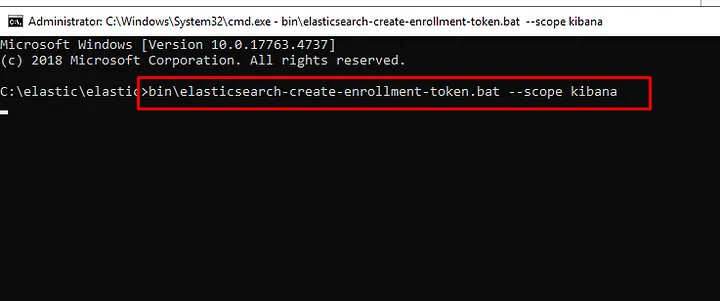
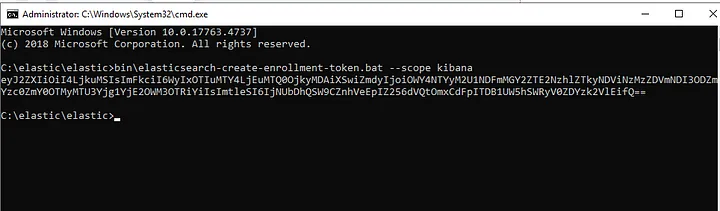
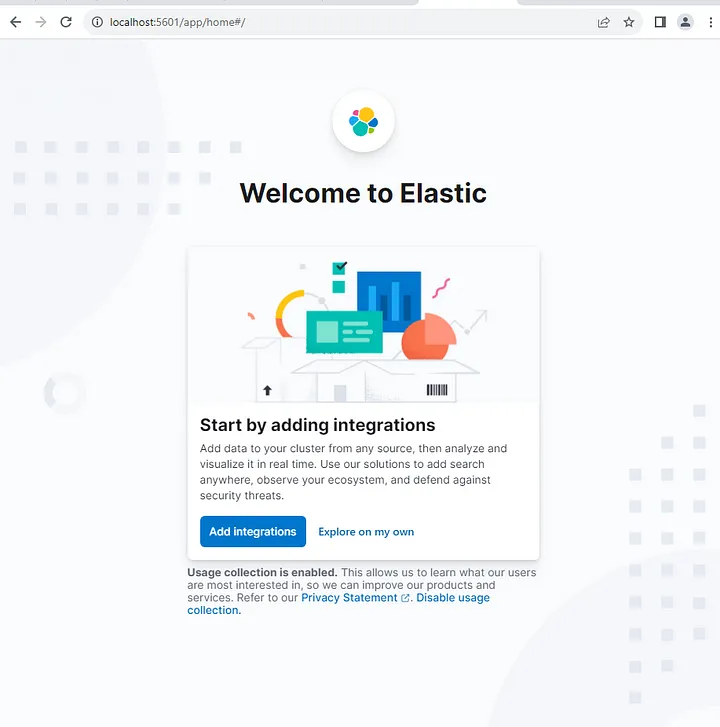
- You add the code you generated to the Kibana panel.
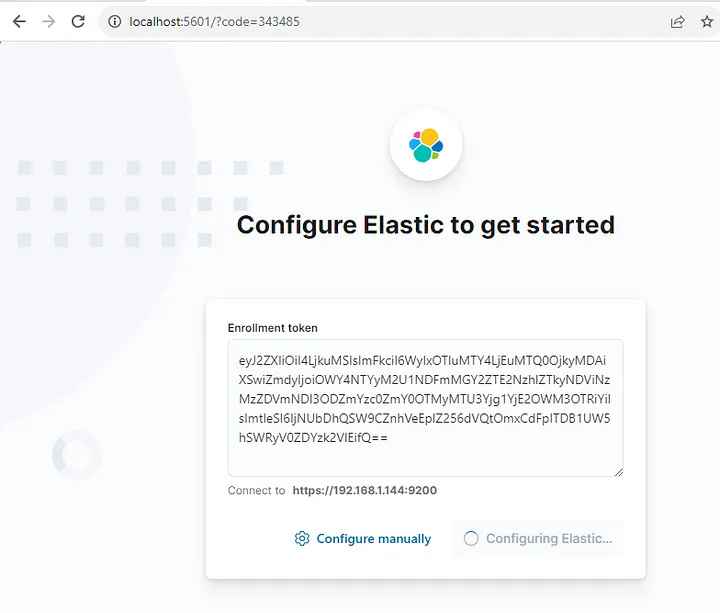
- You establish the connection with the Elastic panel.
Since data security is crucial in our lives, remember to change the “default” password from the Kibana panel.
- Select the “Edit Profile” option from the top right corner.
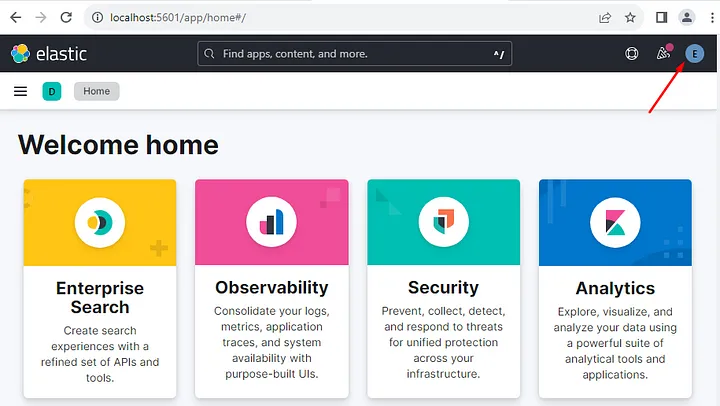
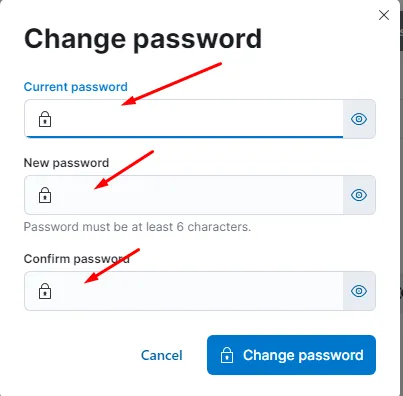
- From the “Profile” section, select the “Change password” option.
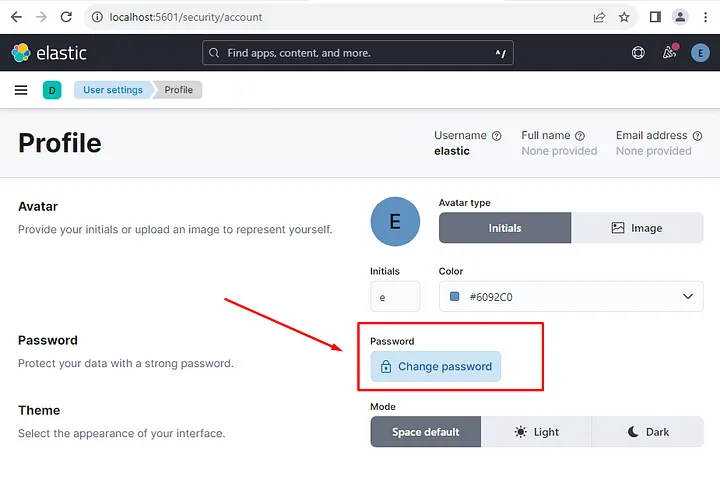
- Complete the process of changing the password by filling in the relevant fields.

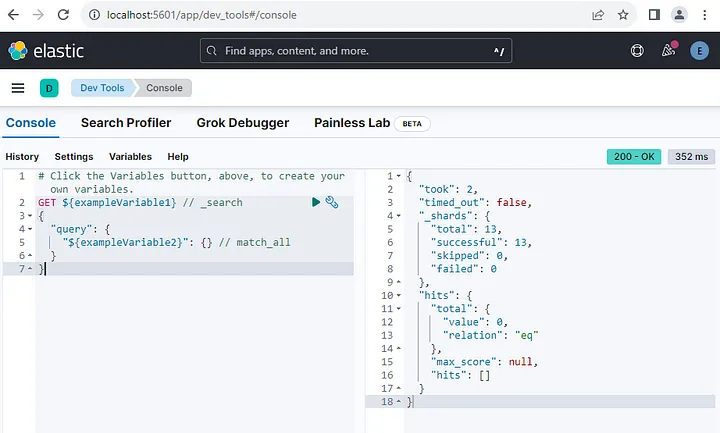
By following these steps, you should have completed the installation and configuration of ELK Stack (Elasticsearch, Logstash, Kibana) on a Windows Server. Now, you can begin utilizing this powerful toolset for data analysis and visualization. ELK Stack will assist you in the processes of data collection, processing, analysis, and creating meaningful visuals.
Data security is of utmost importance, so remember to change the default passwords in Elasticsearch and Kibana to strong and unique passwords. This step will ensure the safety of your data.
If you encounter any challenges along the way, it’s a good idea to refer to the official documentation of Elasticsearch and Kibana or seek help from community support forums. Best of luck, and I wish you a successful journey filled with data insights!
If you have any questions or details you would like to add, feel free to write me.