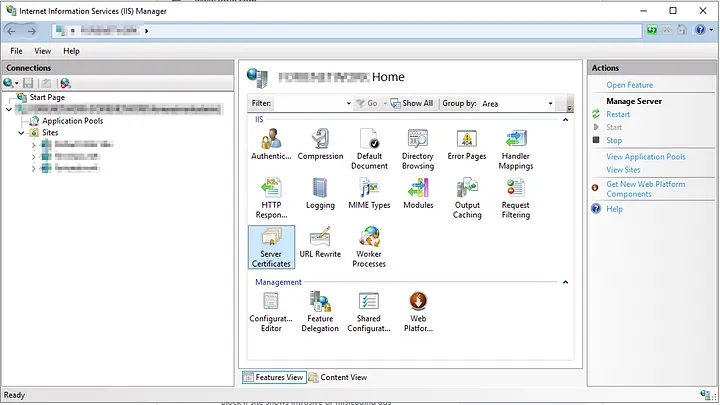
Web security holds significant importance for the security of online activities nowadays. SSL (Secure Sockets Layer) certificates play a critical role in the security of websites and applications. This article outlines the steps to create and manage an SSL certificate on a Windows Server.
Step 1: Generating a .CSR File:
- Open the IIS (Internet Information Services) management tool on your Windows Server.
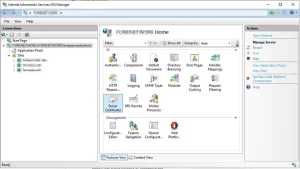
- Go to “Server Certificates.”
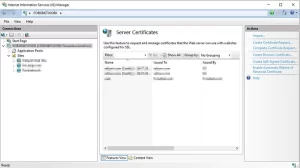
- Click on “Create Certificate Request.”
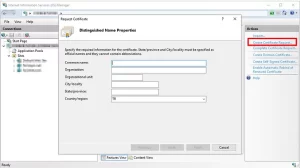
- Fill in the required details: domain name, organization name, country, etc.

- Save the .CSR (Certificate Signing Request) file.
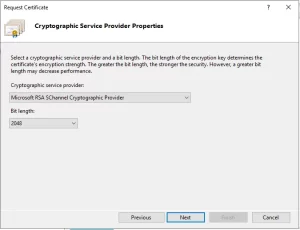

Step 2: Mail Confirmation and Obtaining .CRT File from SSL Provider:
- Visit your chosen SSL provider and initiate the certificate purchase process.
- Complete the necessary verification steps during the certificate purchase. Typically, you’ll need to verify ownership of the domain you own.
- Once the verification is completed, your SSL provider will send you a .CRT (Certificate) file.
Step 3: Importing the .CRT File using MMC:
- On the Windows Server, open the “Run” dialog and type “mmc,” then press Enter.

mmc
- From the “File” menu, select “Add/Remove Snap-in.”
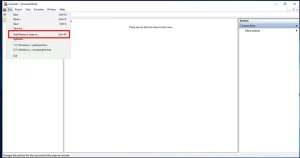
- Add the “Certificates” snap-in.
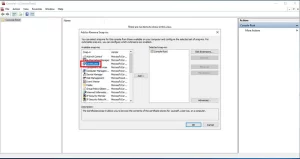
- Choose the “Computer account” option and select your local computer.
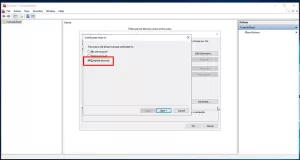
- Navigate to “Certificates” > “Personal” > “Certificates.”

- Right-click on the imported .CRT file and choose “All Tasks” > “Import…,” then add the .CRT file.
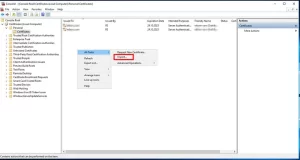
Step 4: Converting .CRT File to .PFX Format:
- In MMC, right-click on the certificate you imported the .CRT file to.

- Choose “All Tasks” > “Export…”
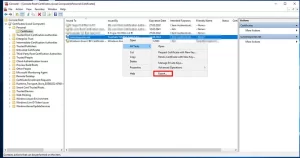
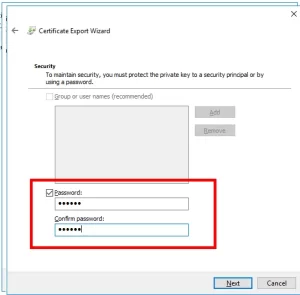
- In the Certificate Export Wizard, select the .PFX format and proceed.

- Set a password, save the .PFX file, and complete the process.
Conclusion: This article has provided a detailed explanation of the steps to create and manage an SSL certificate on a Windows Server. Proper creation and management of SSL certificates are crucial for ensuring web security and safeguarding sensitive user data. Following the correct steps can enhance the security of websites and applications.
If you have any questions or details you would like to add, feel free to write me.

