

RabbitMQ is a popular open-source message queuing software that can be installed on the Windows Server platform. In this guide, you will learn step-by-step how to install RabbitMQ on a Windows Server operating system.
Step 1: Checking Requirements
To ensure the smooth operation of RabbitMQ, the runtime of a programming language called Erlang is required. Here is the first step of the installation process:
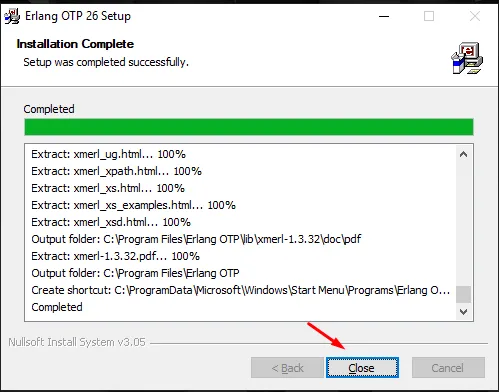
Step 2: Installing Erlang:
1.Go to the official Erlang website: https://www.erlang.org/downloads
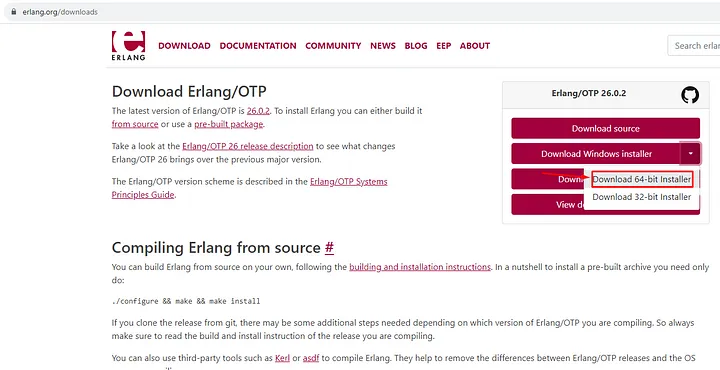
2.Download the version suitable for Windows and save it to your computer.
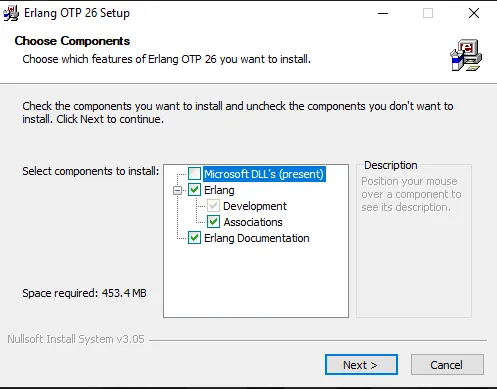
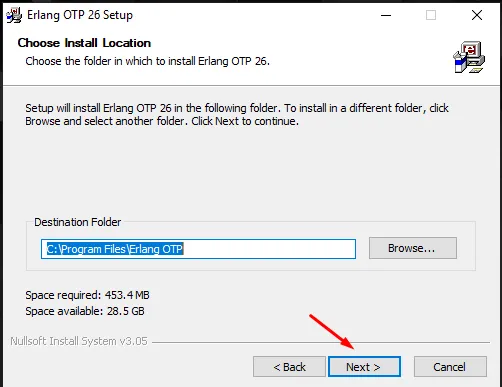
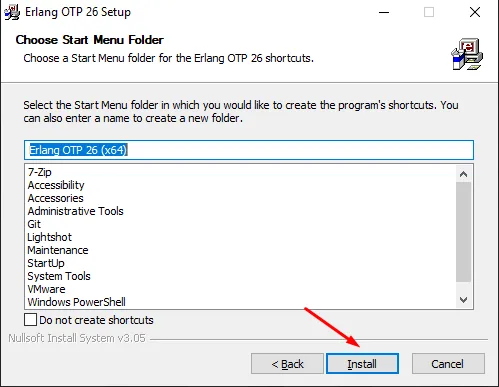
3.Run the downloaded file to install Erlang on your system.
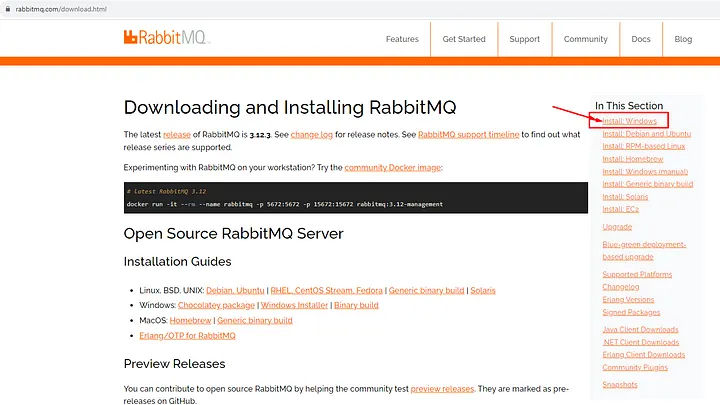
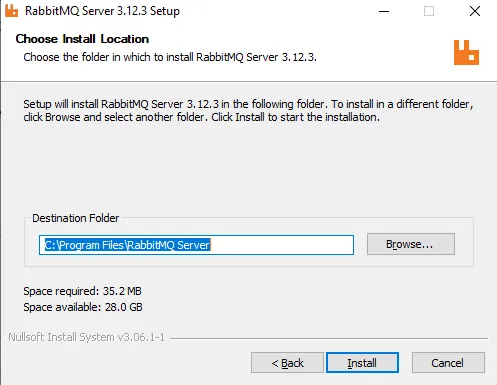
Step 3: Installing RabbitMQ:
1.Visit the official RabbitMQ website: https://www.rabbitmq.com/download.html
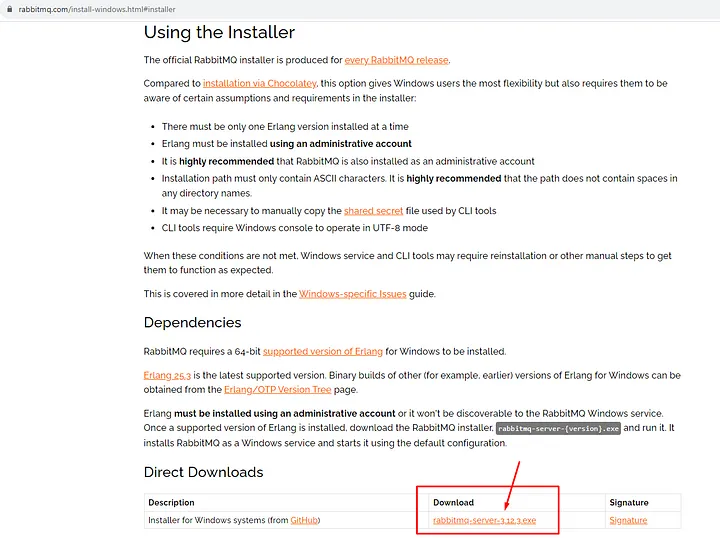
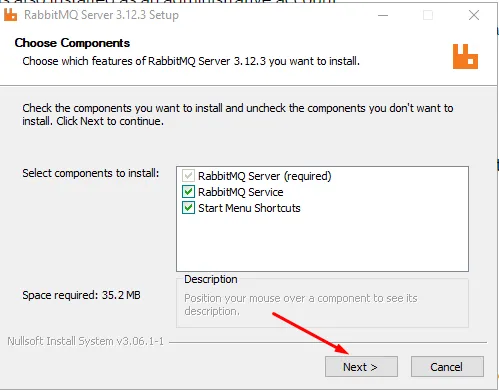
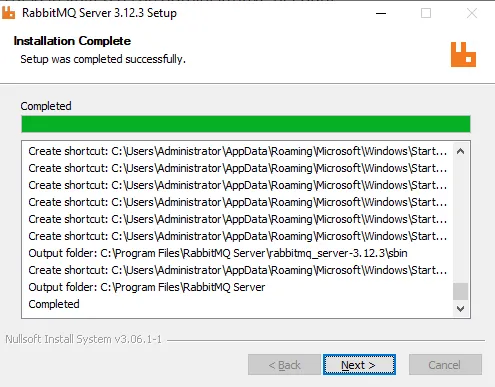
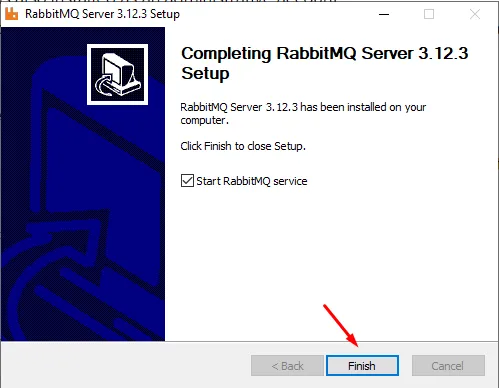
3.Run the downloaded file to install RabbitMQ on your computer.
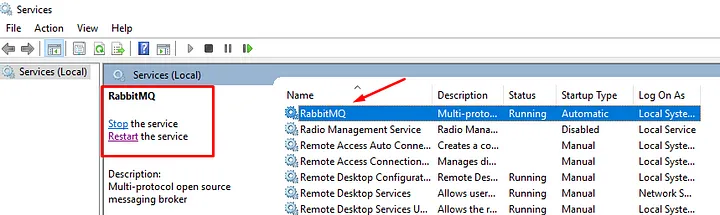
Step 4: Managing Services:
- Open the “Services” application from the Start menu.
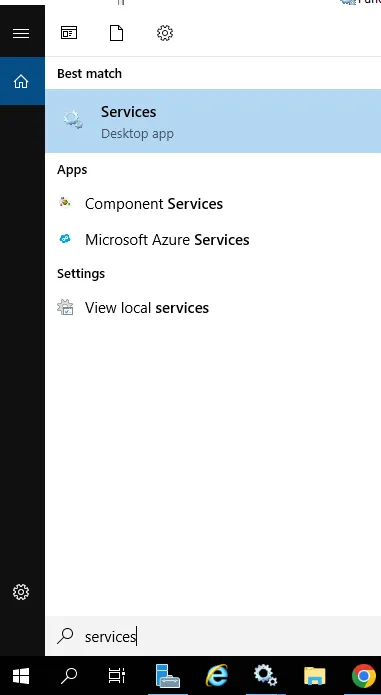
2.Find and stop/start the “RabbitMQ” and “Erlang” services from the list.

Step 5: Accessing the Management Interface (Optional):
- If you want to use the RabbitMQ Management Interface, open the RabbitMQ Command Prompt.

2.Enable the management interface using the following command:
rabbitmq-plugins enable rabbitmq_management
3.We restart from Services for the changes to take effect.
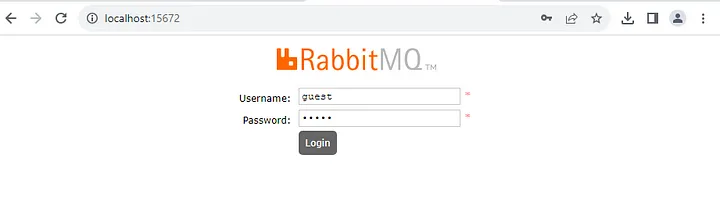
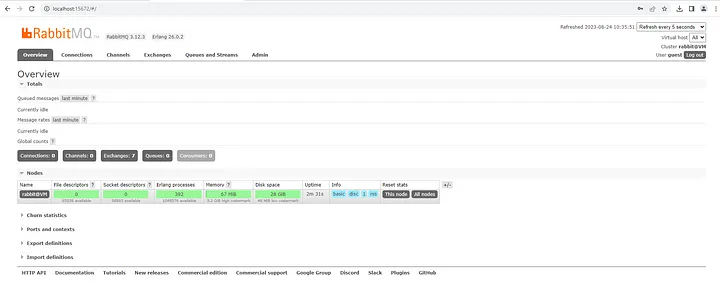
Step 6: Accessing the Management Interface:
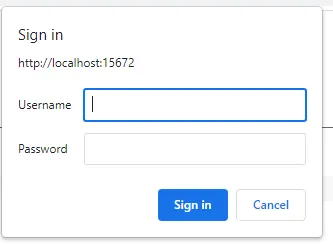
- Open your browser and visit the following URL to access the management interface:
http://localhost:15672/
2.The default username and password are set to “guest/guest”. Use these credentials to log in on your first visit.
By following these steps, you can successfully install RabbitMQ on a Windows Server and establish your communication infrastructure.
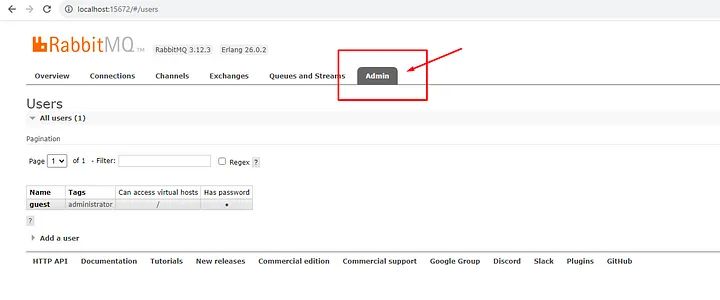
7.Changing the Password
- After logging into the management interface, click on the “Admin” option from the left menu.
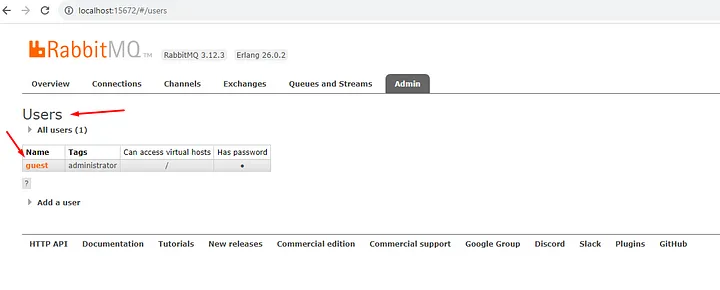
- Navigate to the “Users” section and find the “guest” user. It should be listed by default.
- Click on the “guest” user to access the user editing page.
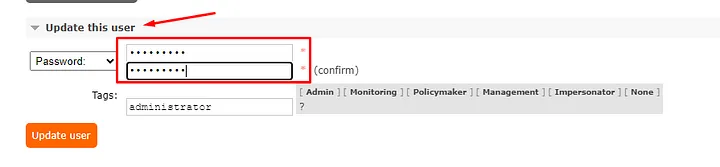
- In the user editing page, enter a new password in the “Password” field. Enter the same password again in the “Password Confirmation” field.
Using your new password, you can now access the RabbitMQ management interface. Remember that for security reasons, it’s important to use a strong and complex password.
If you have any questions or details you would like to add, feel free to write me.