SQL Server Management Studio (SSMS) is the official tool used for Microsoft SQL Server database management and query operations. SSMS enables you to create, edit, back up, and execute data queries within databases. Additionally, you can configure security settings and monitor database performance in SQL Server.
The core functions of SSMS include:
1.Database Management: SSMS allows you to create, delete, rename, and edit SQL Server databases. It provides graphical interfaces and commands for managing your databases.
2.Query Operations: You can write SQL queries and execute them on SQL Server using SSMS. You can view and process the results, which is used for accessing and manipulating data within your database.
3.Backup and Restore: You can take backups of your databases and restore them when needed. This is essential for preventing data loss and safeguarding your database operations.
4.Security Settings: You can configure security settings for your databases and manage access control. You can define users and roles.
5.Performance Monitoring: It provides tools and reports to monitor the performance of SQL Server. This helps you optimize your database performance.
SQL Server Management Studio is a versatile tool for managing and developing with SQL Server, and it serves as a fundamental component for many database applications that work with SQL Server. By installing SSMS on your computer, you can access the necessary tools to start working with SQL Server. You can easily install SSMS by following the instructions below.
SQL Server Management Studio (SSMS) installation:
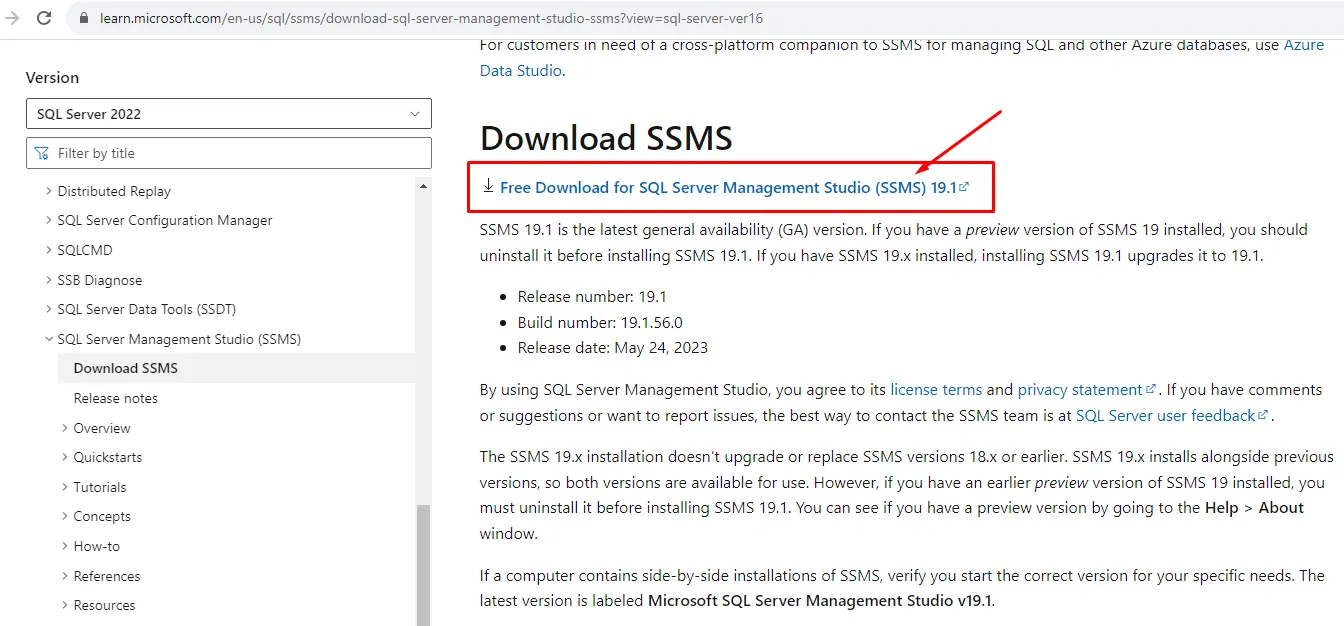
1.Downloading SQL Server Management Studio: The first step is to download the latest version of SSMS. You can do this by visiting the official Microsoft website. The download link is as follows:
SQL Server Management Studio Download
2.Running the Downloaded File: Double-click the downloaded installation file to run it. If a User Account Control (UAC) window appears, select “Yes” or “Continue” to grant permission.
3.Accepting the License Agreement: Read the license agreement carefully, and if you agree, check the “I accept the license terms” option and click the “Next” button.
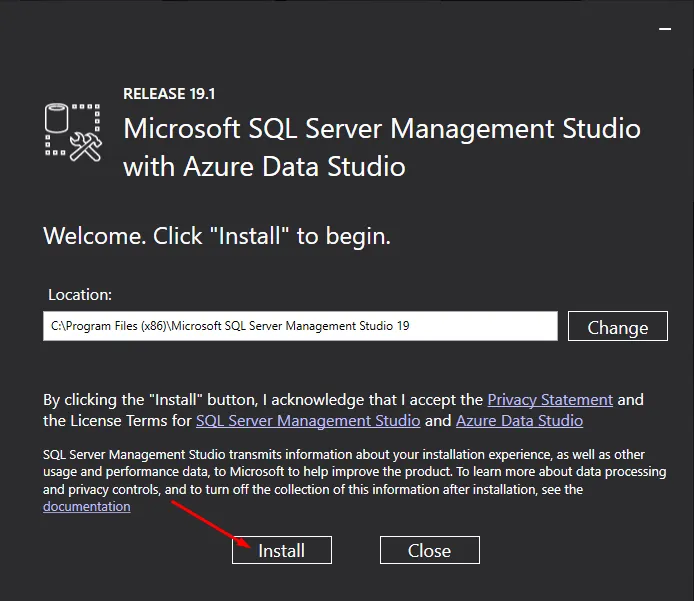
4.Installation Path Selection: If you choose the “Custom” installation type, you can select a path in this step to determine where SQL Server Management Studio will be installed. If you prefer to use the default settings, you can click the “Install” button.
5.Custom Installation Options: If you have chosen the “Custom” installation option, you can customize which components will be installed in this step. Select the components according to your needs and click the “Next” button.
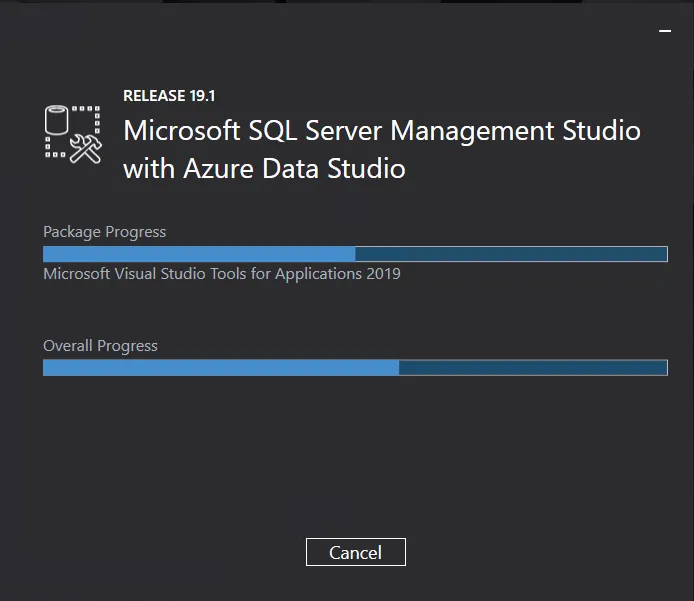
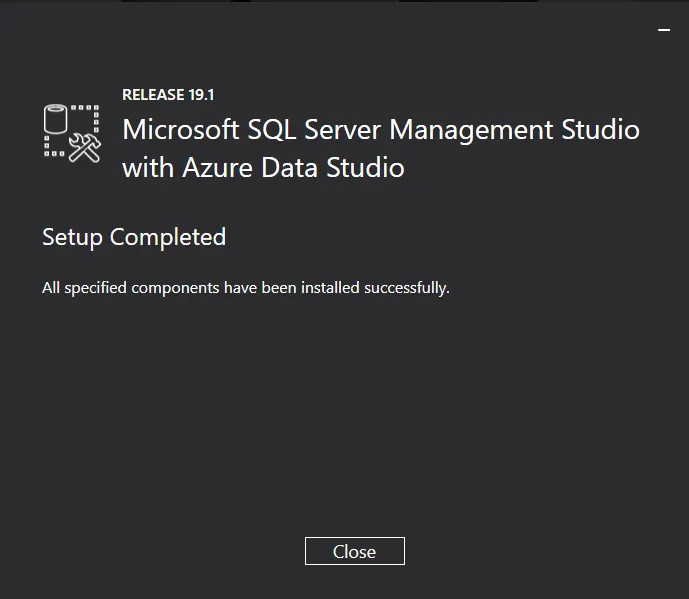
6.Completion of Installation: The installation process may take some time. Once it’s finished, click the “Close” button to complete the installation.
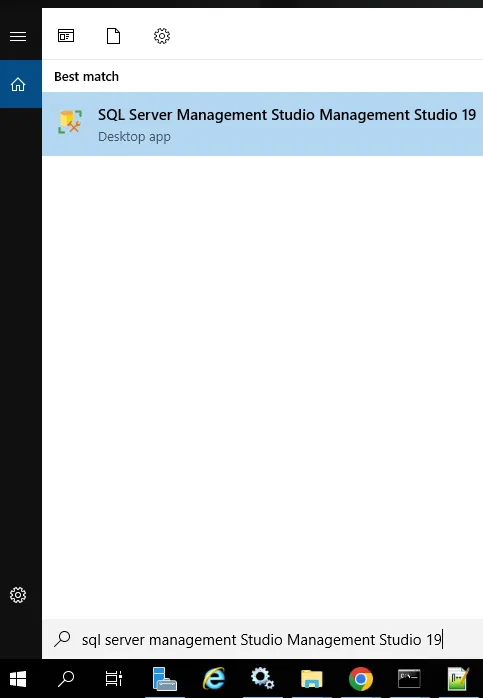
7.Launching SSMS: When the installation is complete, you can launch the SQL Server Management Studio program using the shortcut on your desktop or from the Start Menu. Start the program, and you can begin managing your SQL Server databases.
You should have successfully installed SSMS on your computer by now. You can use this tool to manage your databases and run queries.
How to Perform Database Management and Performance Monitoring Using SQL Server Management Studio (SSMS):
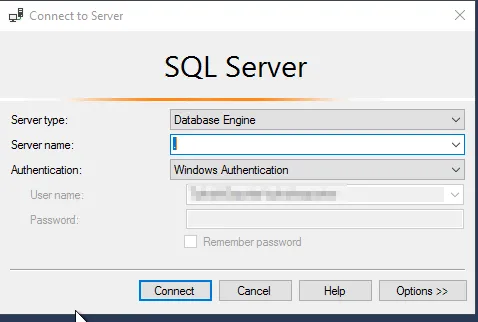
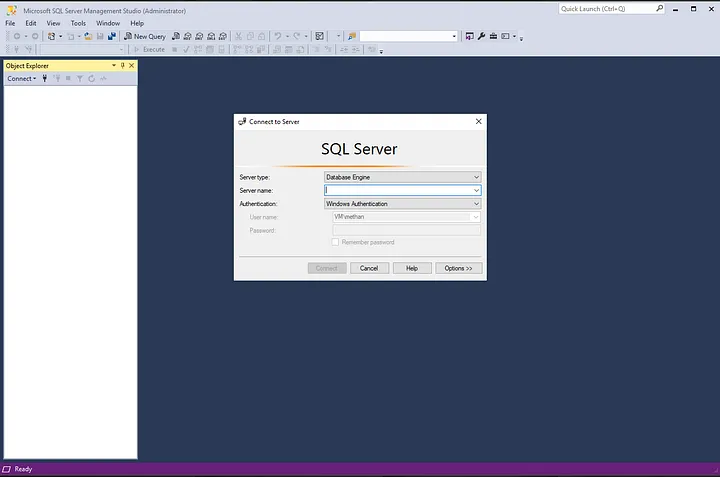
- Connecting to a Server: When SSMS starts, you will need to connect to a server. The “Connect to Server” window will open. This window allows you to choose how to connect to SQL Server.
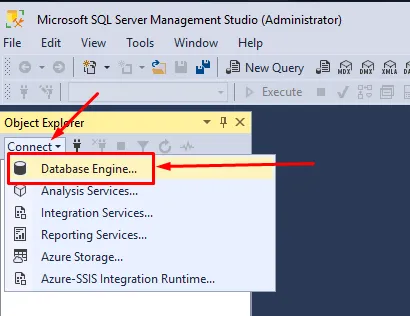
- Server Type: Choose the server type. Typically, the “Database Engine” option is used.
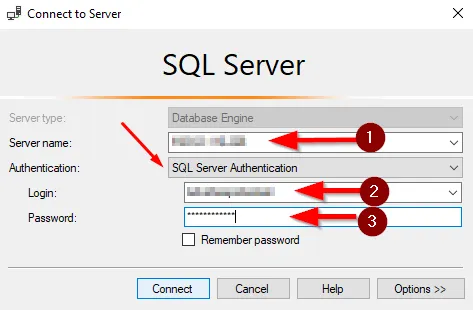
- Server Name: Enter the name or IP address of the SQL Server.
- Authentication: Choose one of the options, either “Windows Authentication” or “SQL Server Authentication,” to connect to SQL Server.
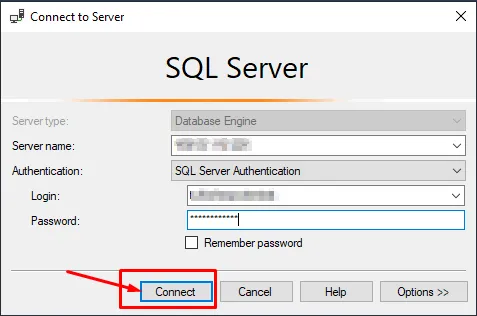
2.Connecting to the Server: After entering the necessary information, click the “Connect” button. When SSMS successfully connects to the server, it will close the connection window.
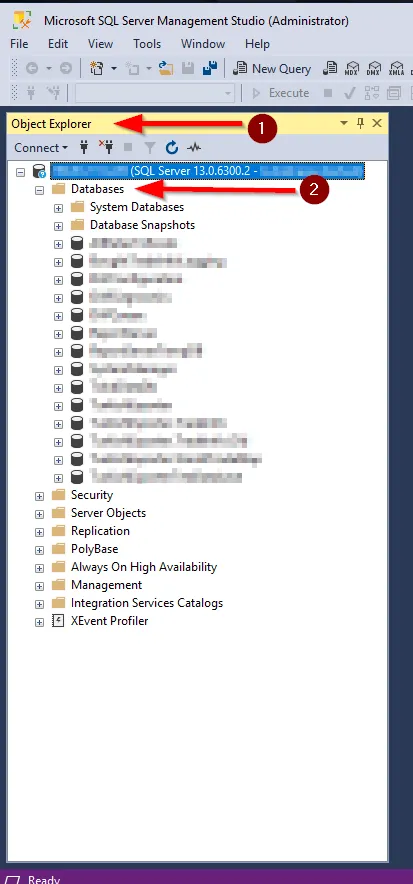
3.Viewing Databases: In the “Object Explorer” window on the left side, you can view your existing databases by clicking on the “Databases” button located under the connected server. Here, you will see all the databases, including system databases.
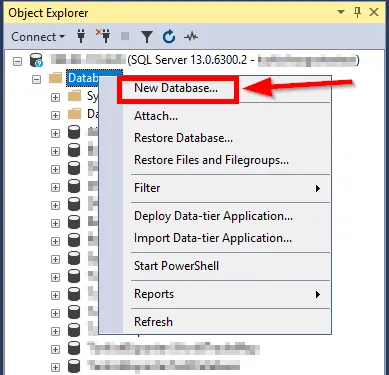
4.Creating a New Database: To create a new database, right-click on “Databases” and select “New Database.” In the opened window, you can configure the database’s name, filegroups, and other settings.

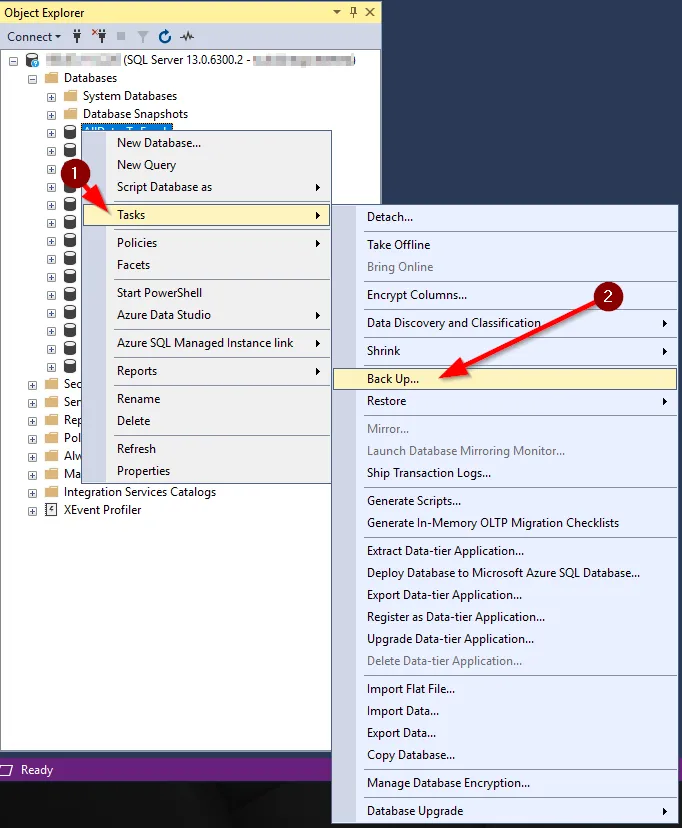
5.Database Backup and Restore: To back up or restore databases, right-click on “Tasks” and use the “Back Up” or “Restore” options to perform these operations.
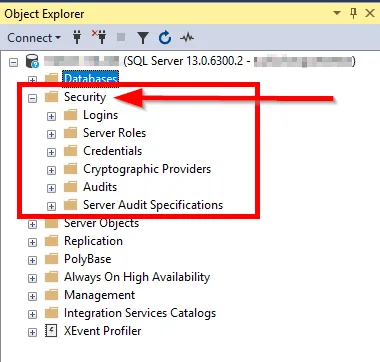
6.Security Settings: To configure the security settings for your databases, go to the “Security” section. Settings related to users, roles, and permissions are managed here.
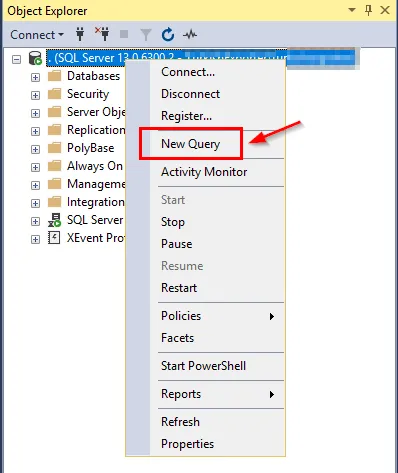
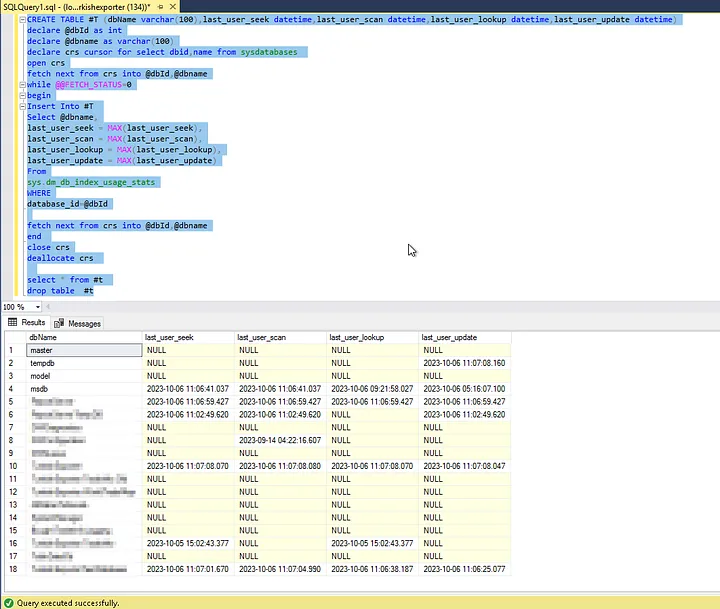
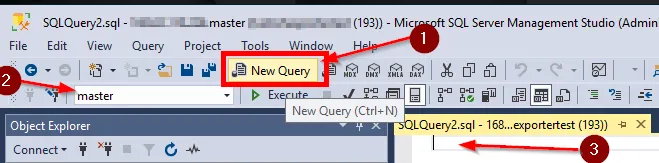
7.Running Queries: To execute SQL queries, you can open a new query window. You can write and execute SQL queries using the “New Query” option.
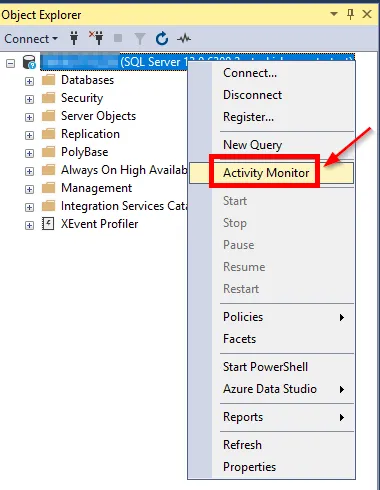
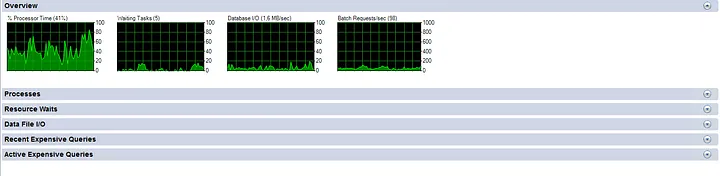
8.Performance Monitoring: SSMS provides tools and reports for monitoring the performance of SQL Server. This helps you optimize your database’s performance.
If you have any questions or details you would like to add, feel free to write me.