
To find active and inactive databases in SQL Server when you have a large number of databases, you can use the following code:
CREATE TABLE #T (dbName varchar(100),last_user_seek datetime,last_user_scan datetime,last_user_lookup datetime,last_user_update datetime)
declare @dbId as int
declare @dbname as varchar(100)
declare crs cursor for select dbid,name from sysdatabases
open crs
fetch next from crs into @dbId,@dbname
while @@FETCH_STATUS=0
begin
Insert Into #T
Select @dbname,
last_user_seek = MAX(last_user_seek),
last_user_scan = MAX(last_user_scan),
last_user_lookup = MAX(last_user_lookup),
last_user_update = MAX(last_user_update)
From
sys.dm_db_index_usage_stats
WHERE
database_id=@dbId

fetch next from crs into @dbId,@dbname
end
close crs
deallocate crs

select * from #t
drop table #t
Here are the steps to execute this query in SQL Server Management Studio (SSMS):
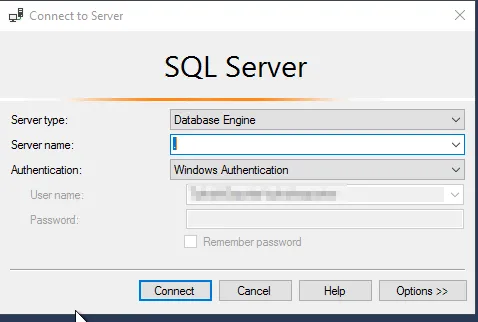
1.Open SSMS and log in to your SQL Server instance.If you do not have it installed, you can find the article in which I explain its installation here.

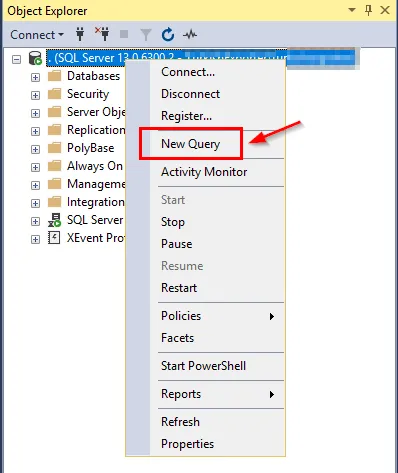
2.In SSMS, open a new query window by clicking “New Query.”
3.Paste the provided query into the query window.
4.Execute the query by clicking the “Execute” button or pressing F5.
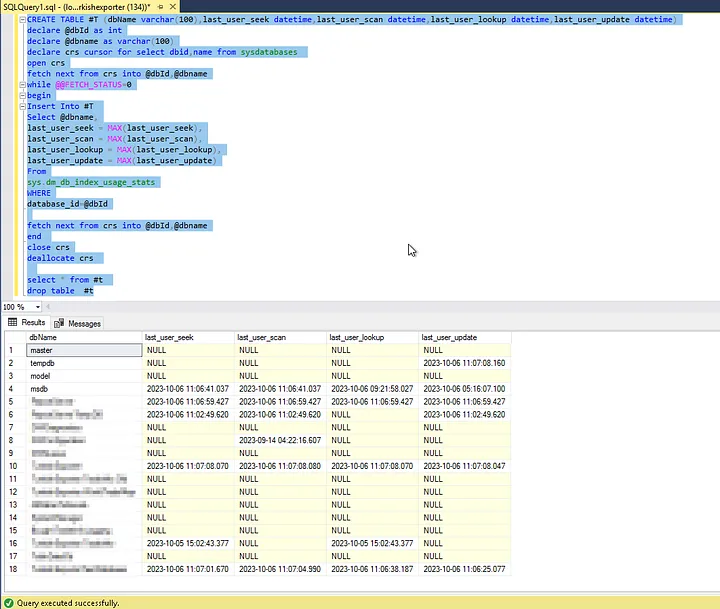
After executing the query, you will see a result similar to the one you mentioned, which shows when each database had its last user seek, scan, lookup, and update operations.
For those who are curious, here’s an explanation of the query:
- The “CREATE TABLE #T” command creates a temporary table. This temporary table is named #T and contains several columns: dbName, last_user_seek, last_user_scan, last_user_lookup, and last_user_update. This table is used to store the results.
- The “declare @dbId as int” and “declare @dbname as varchar(100)” commands declare two variables to be used in the query. @dbId is an integer (int) variable, and @dbname is a character string (varchar) variable.
- The “declare crs cursor for select dbid,name from sysdatabases” command defines a cursor. It selects database IDs (dbid) and names (name) from the sysdatabases system view, creating a cursor that will allow us to loop through all the databases.
- The “open crs” command opens the defined cursor and prepares it to start processing database information.
- The “fetch next from crs into @dbId,@dbname” command moves the cursor to the next database record and assigns the values of @dbId and @dbname variables to the current record. This process is repeated as the cursor iterates through all the databases.
- The “while @@FETCH_STATUS=0” command checks whether the cursor has reached the end. As long as the @@FETCH_STATUS variable is 0, meaning the cursor has found more database records, the loop continues.
- Inside the loop, the “Insert Into #T” command adds data to the #T temporary table. This command retrieves index usage statistics for a specific database from the sys.dm_db_index_usage_stats system view and inserts the maximum values of these statistics into the #T table. This way, the latest index usage statistics for each database are consolidated in this table.
- The loop uses the “fetch next from crs into @dbId,@dbname” command to move to the next database record, and the process is repeated for other databases.
- When all databases have been traversed, the “close crs” command closes the cursor, and the “deallocate crs” command cleans up the cursor.
- The “select * from #t” command displays the results from the #T table. These results include the latest index usage statistics for each database.
- Finally, the “drop table #t” command deletes the temporary table because the results are no longer needed.
kaynak : https://omercolakoglu.net/
If you have any questions or details you would like to add, feel free to write me.