Azure Command-Line Interface (Azure CLI) is a command-line tool used for managing Microsoft Azure, the cloud service platform by Microsoft. Azure CLI is employed to create, configure, manage, and monitor Azure resources. It is compatible with Windows, macOS, and Linux operating systems.
Key features of Azure CLI include:
1. Cross-Platform Support: Azure CLI can be used on Windows, macOS, and Linux operating systems.
2. Azure Resource Management: Azure CLI facilitates the management of resources supported by Azure Resource Manager (ARM). This encompasses virtual machines, storage accounts, networks, application services, and many other Azure resources.
3. Command-Line Interface: Azure CLI operates as a tool in the command line, making it suitable for automation and scripting tasks utilized by software developers and system administrators.
- Installation of Azure Account and Azure CLI
Now that we have learned the basic information about Azure CLI, let’s examine how to install it on the Windows operating system.
Note: Azure CLI is available for use on Windows, macOS, and Linux operating systems.
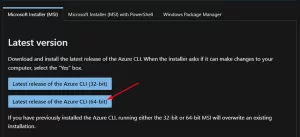
Firstly, we navigate to the link provided below, where options for installation are displayed:
- We download the 64-bit version by selecting “.msi”
https://learn.microsoft.com/en-us/cli/azure/install-azure-cli-windows?tabs=azure-cli
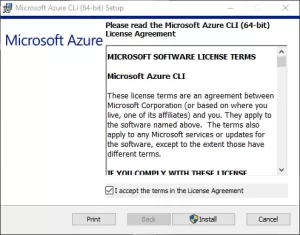
- We run the downloaded setup file and complete the installation process by following the relevant steps.
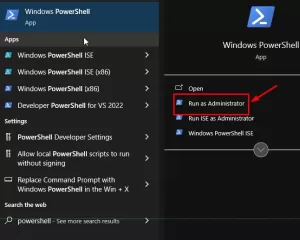
- Next, we open PowerShell as an administrator.
Set-ExecutionPolicy Unrestricted- `Set-ExecutionPolicy Unrestricted` sets the minimum security level that allows the execution of script files in PowerShell. This enables you to run almost any script file on your computer or any script that comes your way.
- We grant the necessary permission by selecting “Yes to All” or “A”.
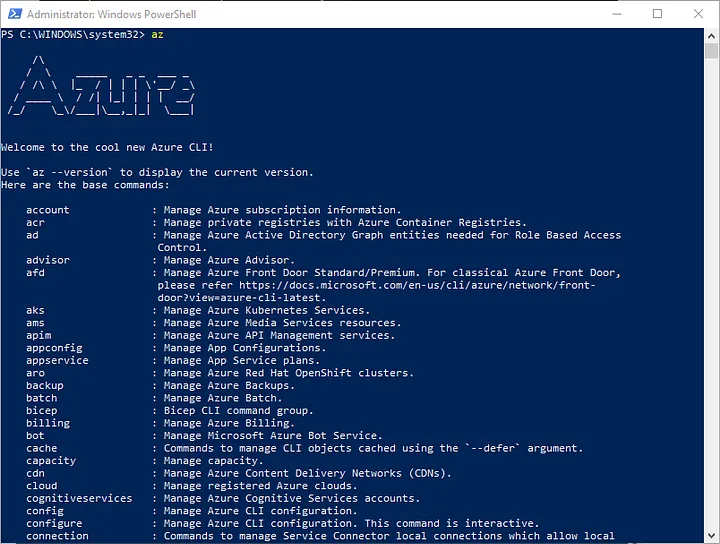
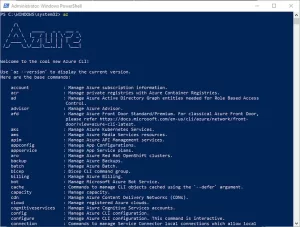
- Afterward, by running the “az” command, we complete the installation of Azure CLI.
PS C:\WINDOWS\system32> az2.Signing In and Selecting a Subscription
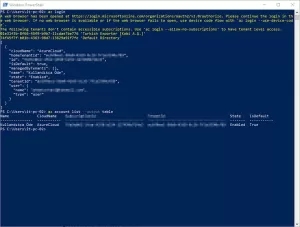
To use Azure CLI, you need to sign in to your Azure account using the az login command. Once signed in, you can choose the subscription you want to work with.
az login
az account list - output table
az account set - subscription "Subscription_Name_or_ID"
3. Creating and Managing a Resource Group
To manage resources efficiently in Azure, resource groups are utilized. Here is an example of creating and managing a resource group:
# Yeni bir kaynak grubu oluştur
az group create --name MyResourceGroup --location EastUS

# Varolan kaynak gruplarını listele
az group list --output table

# Kaynak grubunu sil
az group delete --name MyResourceGroup
4. Virtual Machine Management
Azure CLI provides a comprehensive set of commands for creating and managing virtual machines. For example, to create a new Ubuntu virtual machine:
az vm create --resource-group MyResourceGroup --name MyVM --image UbuntuLTS --admin-username azureuser --admin-password MyPassword5. Managing Other Azure Resources
With Azure CLI, you can manage networks, storage accounts, databases, and many other Azure resources. Each resource has a specific set of commands.
6. Automation and Scripting
Azure CLI is an excellent tool for automating your workflows. By creating Bash or PowerShell scripts, you can quickly execute repetitive tasks, streamlining your processes.
7. Up-to-Date Documentation and Help
Always refer to the current and comprehensive documentation for Azure CLI. Additionally, you can use the az [command] --help command to see the usage of each command.
If you have any questions or details you would like to add, feel free to write me.

