How to Add a Domain for Free, Get an SSL Certificate, and Set Up DNS Forwarding Using Cloudflare for Free?
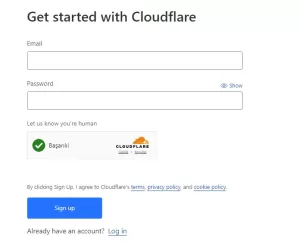
1.Creating a Cloudflare Account: If you don’t have a Cloudflare account, go to cloudflare.com and create an account.
2.Adding a Site on Cloudflare: After logging into your account, go to the Cloudflare control panel and click on the ‘Add a Site’ option. Then, enter the domain name of your site.
3.Choosing a Plan: Cloudflare offers different service levels. The free plan provides basic services, but if you want more features, you can upgrade to paid plans. In this step, we are selecting the free plan.
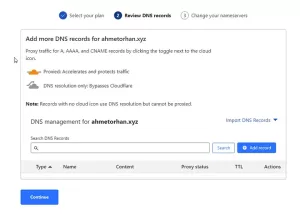
4.Verifying DNS Records: After adding the domain name, Cloudflare automatically analyzes your DNS records. In this step, ensure that your existing DNS records are correct. Edit them if necessary.
- We proceed by saying continue this step to edit later.
- We accept a warning about adjusting DNS settings and continue.
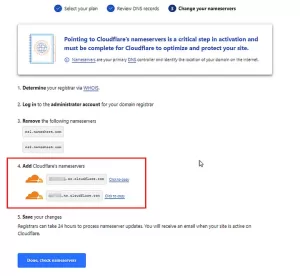
- At this stage, our Cloudflare dns information comes. To do this, you need to change the DNS routing from the domain provider as follows. (This field may vary depending on the domain providers.)
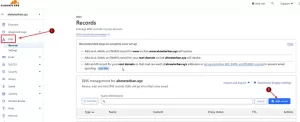
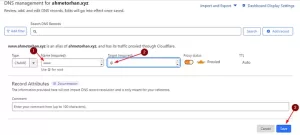
5.DNS Forwarding: Cloudflare is used to manage your DNS forwarding. To forward your DNS records, go to the Cloudflare control panel. Click the “DNS” tab on the home page. Here, we will add new DNS records.
- We continue by clicking Add Record. We will add Host A and CName as necessary.

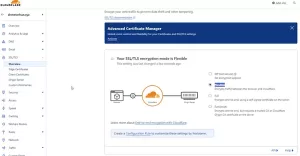
- You can also check whether it has received SSL from the Edge Certificates section.
7.Test and Monitor: Test your site to make sure everything is working properly. Cloudflare control panel provides detailed information about site traffic.
…and happy ending 🙂
In summary; We can add DNS redirects and SSL to our existing domain name free of charge via Cloudflare.
If you have any questions or details you would like to add, feel free to write me.


