Microsoft Azure Storage Explorer: Microsoft Azure’s cloud platform integrates with a free tool known as Microsoft Azure Storage Explorer. This tool is developed to simplify the management and exploration of data stored in the Azure cloud environment. Azure Storage Explorer provides users with a user-friendly interface to perform a range of tasks such as accessing data sources, viewing, uploading, downloading, editing, and deleting data.
The primary use cases of Microsoft Azure Storage Explorer include:
- Managing Azure Storage Resources: Azure Storage Explorer can be used to manage various Azure storage services, including Azure Blob Storage, Azure Table Storage, Azure Queue Storage, and Azure Cosmos DB. This allows users to view, modify, and edit the content of these services.
- Data Transfer: Storage Explorer facilitates data transfer between your local computer and Azure or vice versa. It can be used to quickly upload or download large files or datasets to/from Azure Blob Storage.
- Blob Storage Management: Specifically for Azure Blob Storage, you can use it to view blob containers and their contents, create new containers, upload, download, delete blobs, and perform sorting operations.
Installing Microsoft Azure Storage Explorer: Here are the steps to install Microsoft Azure Storage Explorer:
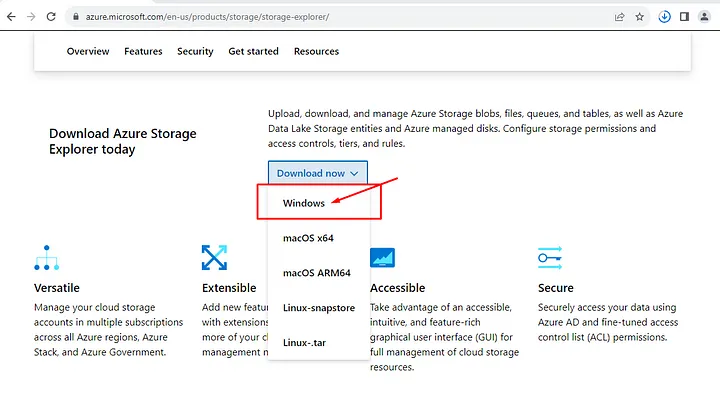
- Download: You can download Microsoft Azure Storage Explorer from the official website. You can directly download it using the following link: Microsoft Azure Storage Explorer Download Page.
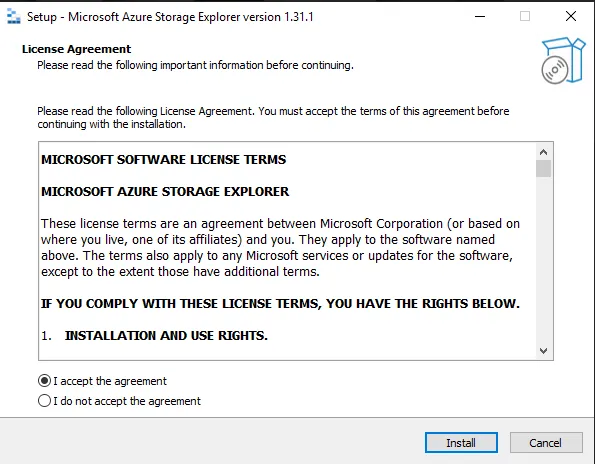
2.Run the Installer: After downloading, run the installer. The installer may check for prerequisites before starting the installation process.

3.Installation Options: When the installer starts, you can configure installation options. Typically, you may want to proceed with the default options, but you can change installation paths and other settings as needed.
4.Installation Process: The installation process will begin. Azure Storage Explorer and its dependencies will be installed on your computer. This process may take a few minutes.
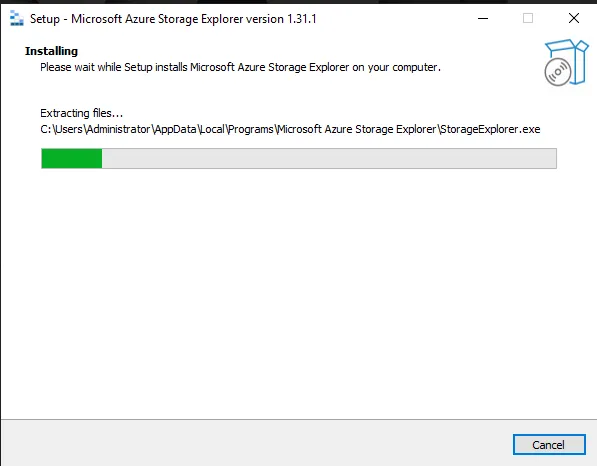
5.Wait for Installation to Finish: Once the installation is completed, the installer will show you a completion message. You can click “Finish” or “Open” to launch Azure Storage Explorer.

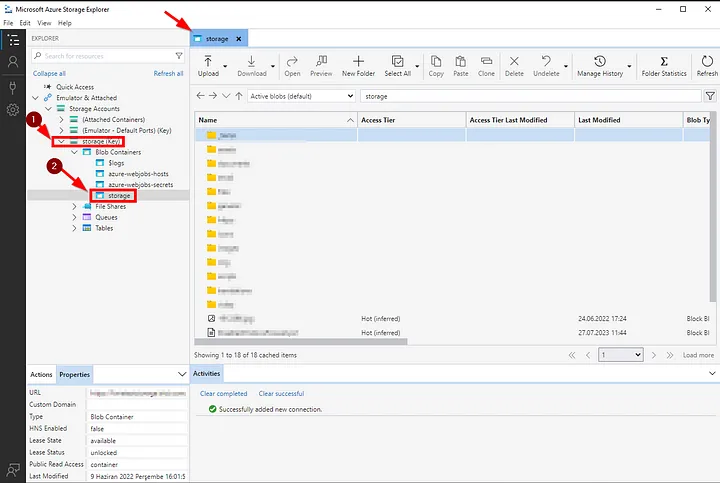
Connecting to Azure Blob Storage with Access Keys: You can connect to Azure Blob Storage using access keys via Azure Storage Explorer with the following steps:
1.Sign In to Azure Portal: To access your Azure Blob Storage account, sign in to the Azure Portal.
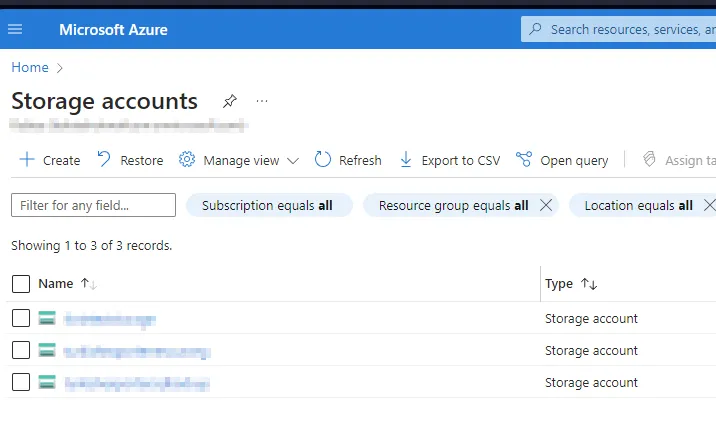
2.Select Your Blob Storage Account: After signing in, select your Blob Storage account or create a new one.
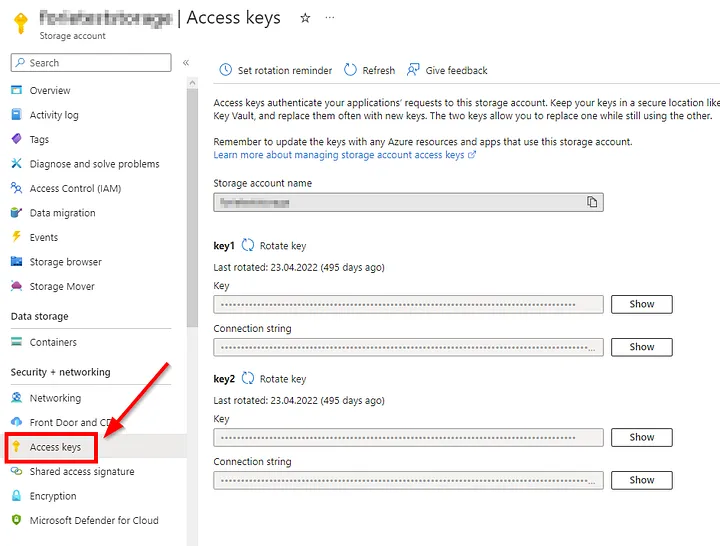
3.Find Your Access Keys: On your Blob Storage account page, there should be an option on the left for “Access keys” or something similar. Click on this option to find your access keys.
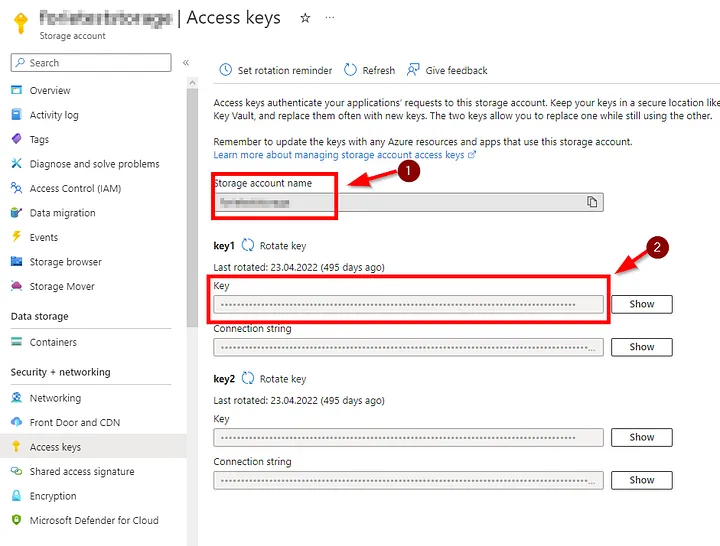
4.Copy the Access Keys: On the access keys page, you will see two keys under “Key1” or “Key2”. Choose one of these keys and click the “Copy” button to copy the key to your clipboard.
5.Launch Azure Storage Explorer: Start the Azure Storage Explorer application on your computer.
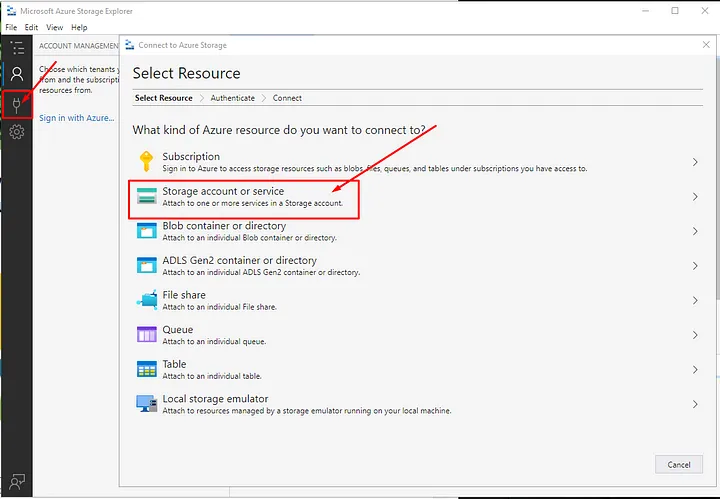
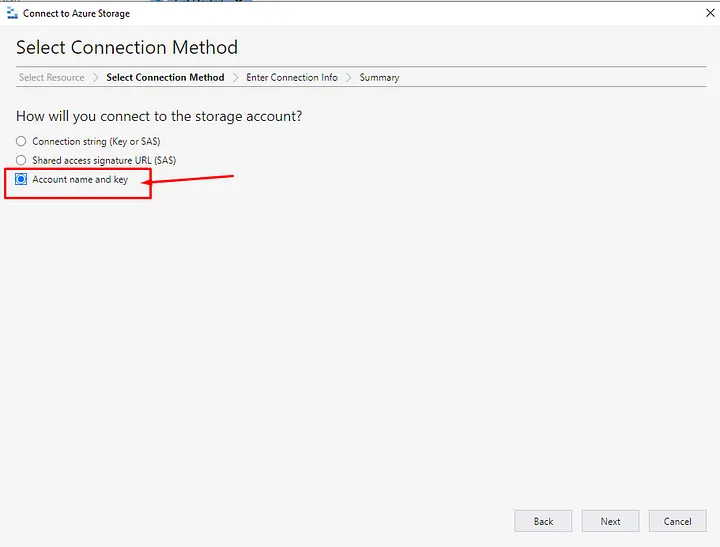
6.Add an Account with Access Keys: Select “Access key” as the “Account kind” and enter the following information:
- Account name: The name of your Blob Storage account.
- Access key: Paste the access key from your clipboard.
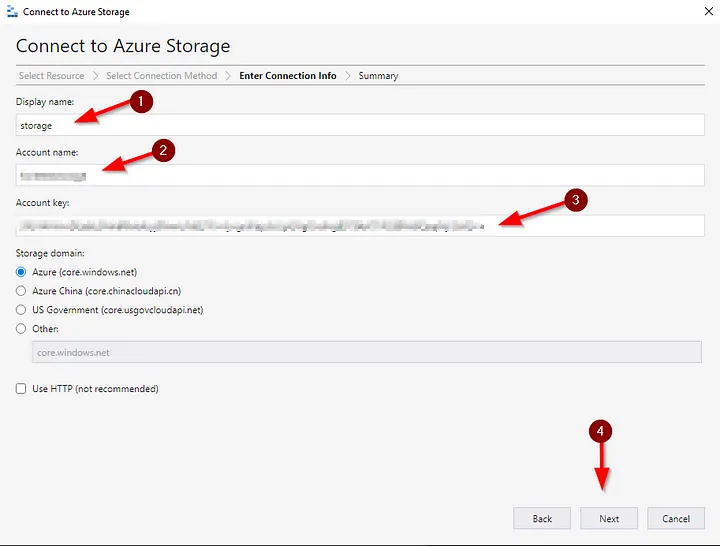
7.Connect: After entering the login information, click the “Connect” or similar button to connect to your Blob Storage account.

8.Manage Blobs: You can now view and manage blob containers and their contents within your Blob Storage account.