

Azure Update Manager is a service offered by Microsoft on the Azure cloud platform and allows you to centrally manage updates for operating systems such as Windows Server. This service is very useful for keeping your servers and virtual machines up to date, closing security gaps and ensuring compliance. With Azure Update Manager, you can do the following:
- Update Distribution: Azure Update Manager helps you automatically distribute updates to your servers and virtual machines. This ensures that your servers are current and secure.
- Compliance Checks: Azure Update Manager checks your servers for specific compliance requirements and reports non-compliance. This way you can meet compliance requirements.
- Scheduling and Planning: You can configure your update policies and schedules. You can set custom schedules to determine when and how updates will be applied.
We have some information about what Azure Update Manager does. Now let’s move on to the installation part.
- Sign In to Azure Portal: Sign in to your Azure account or create one.
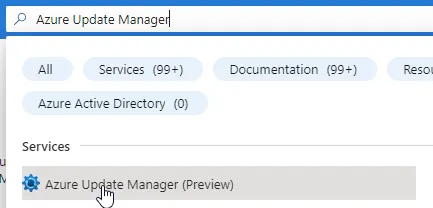
- Enable Azure Update Manager: Find “Azure Update Manager” or “Update Management” from the left menu and enable the service.
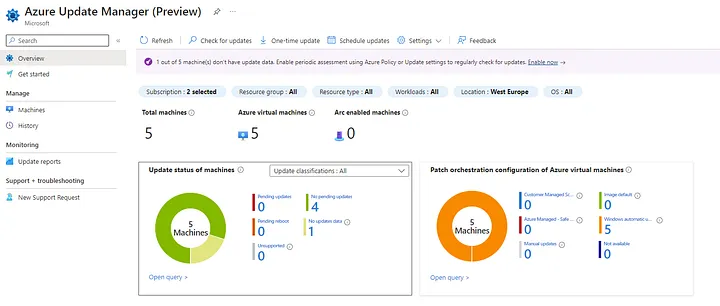
- Azure Update Manager panel recognition:
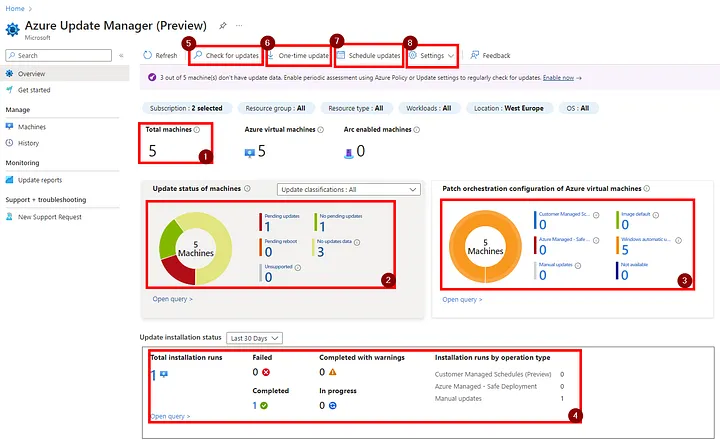
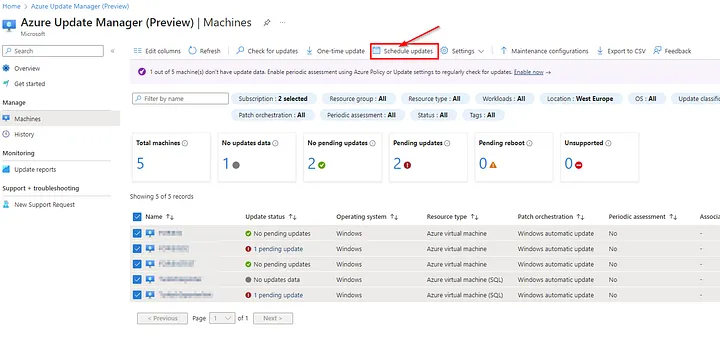
- Total Machines: Shows the total number of virtual machines in Azure.
- Update Status for Machine: Shows the update status (current, pending, failed, etc.) of each virtual machine.
- Patch Orchestration Configuration of Azure Virtual Machines: Contains settings for determining how to configure update management of virtual machines in Azure.
- Update Installation Status: Shows how updates are installed on virtual machines and their success status.
- Check for Updates: Used to instantly check the update status.
- One-time Update: Allows you to initiate a one-time update at a specific time.
- Schedule Updates: Sets whether updates are automatically applied at a specific time or periodically.
- Settings: Contains configuration settings related to update management. This is used to edit update policies and other preferences.
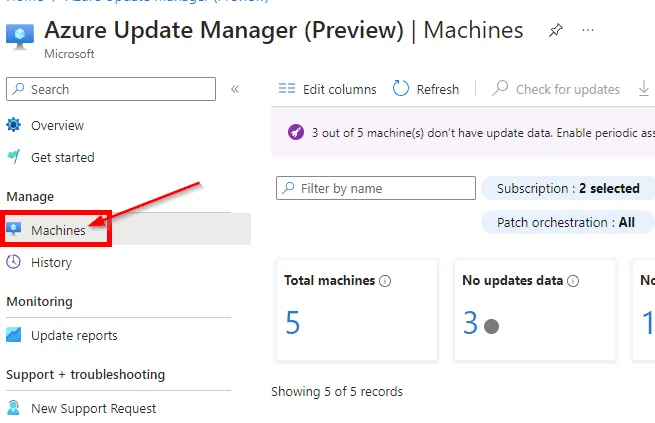
Now let’s look at the process of manually updating one of the VMs in our panel;
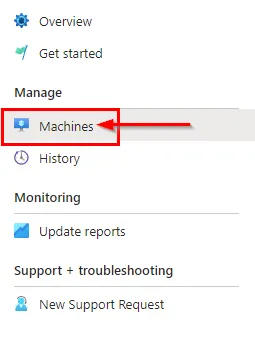
- First of all, we select the “Machines” section from the left panel,
- We select a server (VM) from the opened panel and click on the “Check for updates” option,
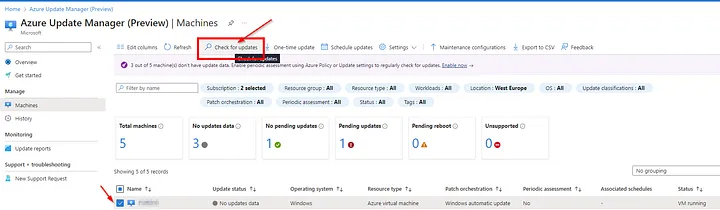
- Checks the VM for updates and completes the process,


- As a result of the check on the same panel, we see that there is a pending update process in the VM,

- There is one update visible in the given VM,
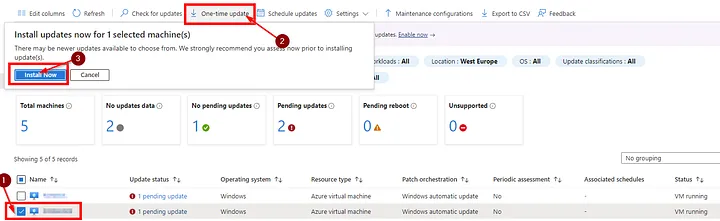
- We continue by selecting the incoming update.
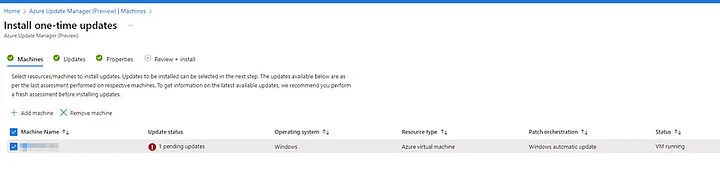
- We continue by selecting the incoming update.
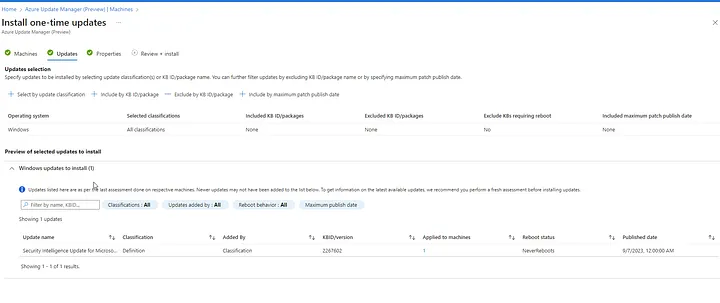
- In the “Properties” section, there are options for after the update, here we choose the one suitable for us.
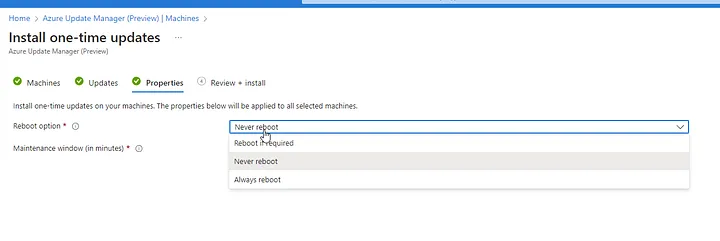
- In the last stage, we start the one-time update process.
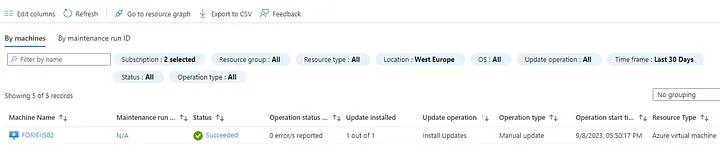
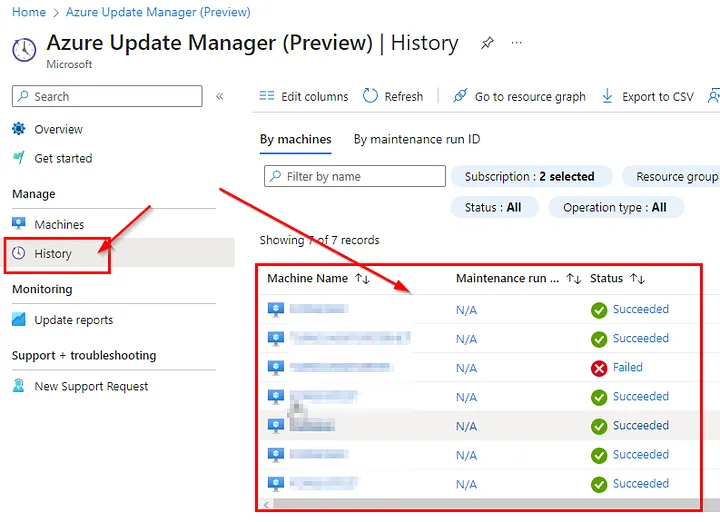
- By going to the “History” section on the left, we see that our transaction has been completed successfully.
Now, let’s make the installation of the available updates at the time and time we want;
- In the Azure Update Manager (Preview) interface, click on the “Machines” section from the left menu.
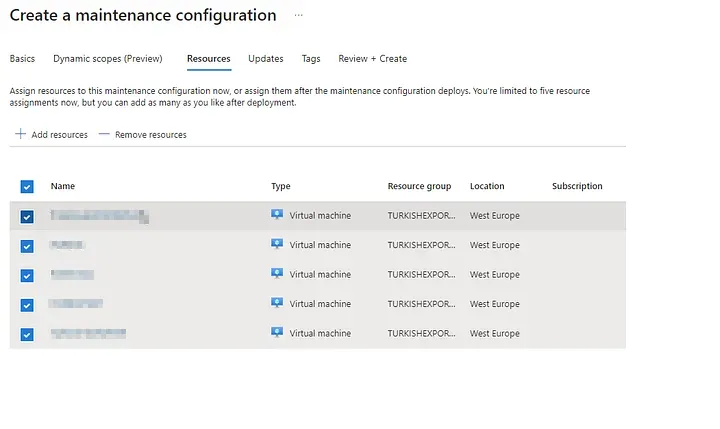
2. Click “Select all” in this section to select all virtual machines, and then click “Schedule updates”.
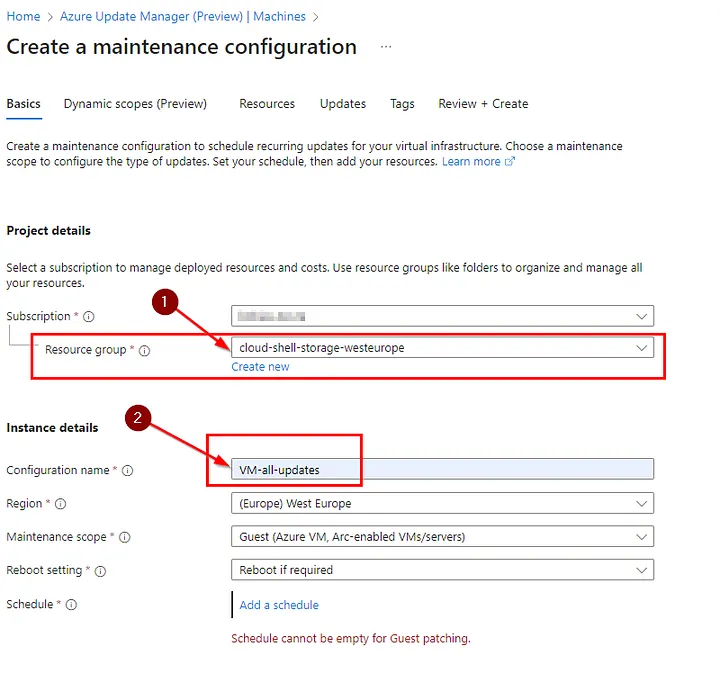
3. Create a “Resource Group” on the screen that opens and specify a name for the process in the “Configuare name” section.
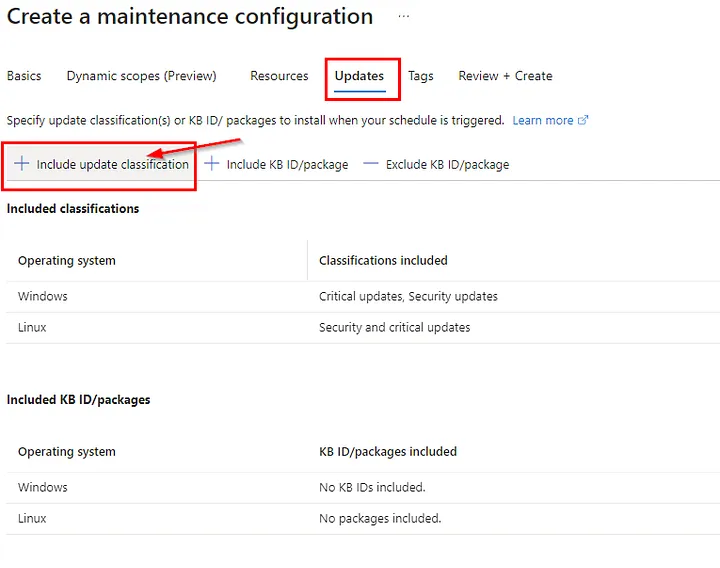
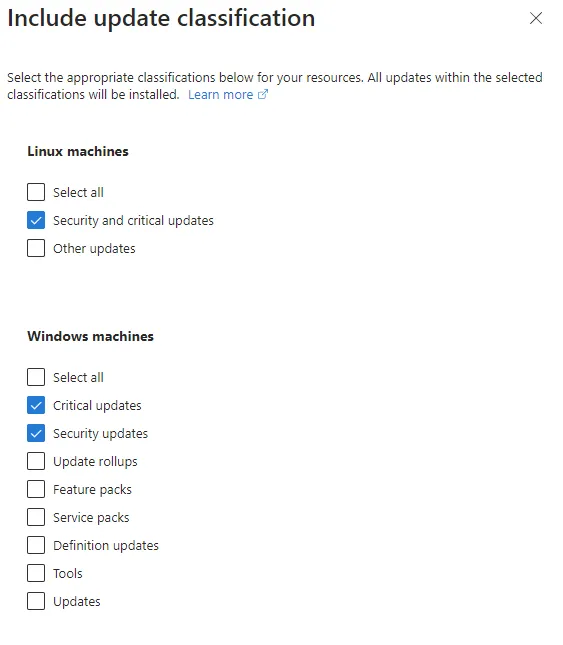
8. Then, in the “Updates” section, you select the “Include update classification” option, select the update classifications that are important to you, and complete the creation process.
9. Finally, when the updates are finished, we can see the operations performed on the main screen and in the “History” section.
Bu adımları takip ederek Azure Update Manager ile sanal makinelerinizi güncelleyebilir ve yönetebilirsiniz.