

One of the crucial steps towards securing data traffic on the internet is to use SSL/TLS certificates on your websites. These certificates ensure encrypted data transmission and enable users to interact with your site securely. For Windows-based IIS servers, you can utilize the free tool “Certify the Web” to acquire and manage SSL certificates. Here’s a step-by-step guide on how to obtain an SSL certificate using the Certify the Web tool:
Step 1: Downloading and Installing Certify the Web
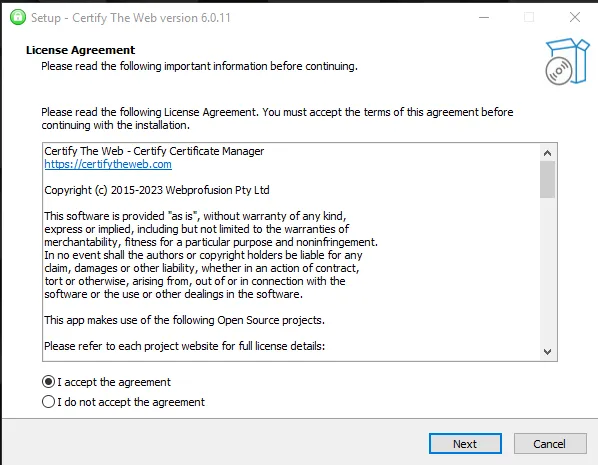
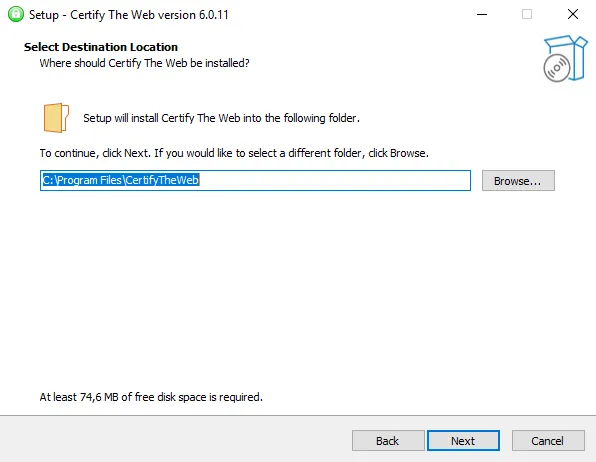
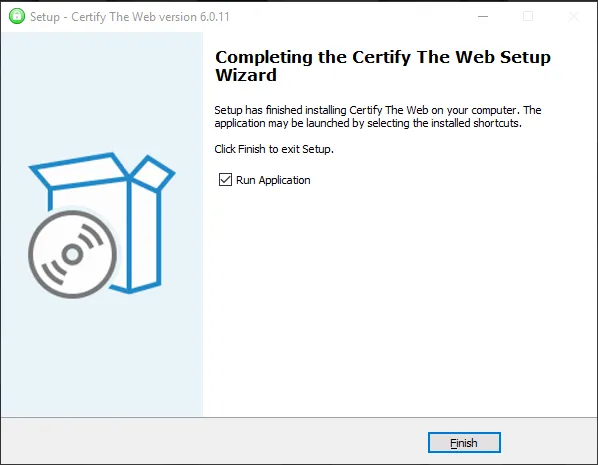
- Visit the official Certify the Web website and download the program. Proceed with the installation on your computer.
Step 2: Opening the Tool and Basic Configuration
1.Launch the Certify the Web application.
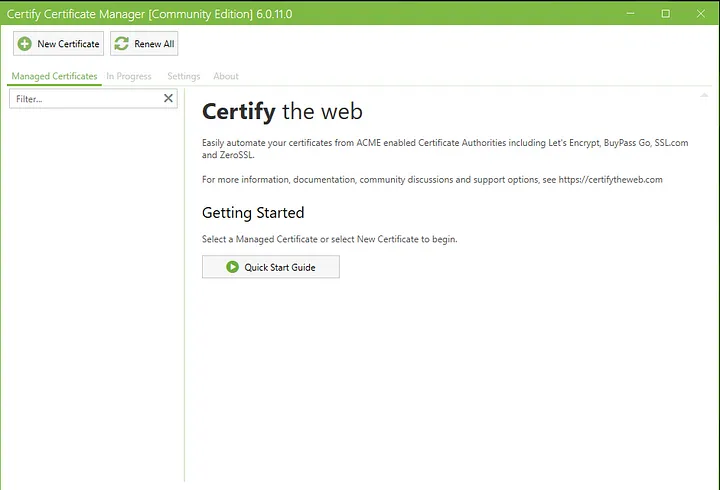
2. On the main screen, you’ll typically find an option like “New Certificate” or something similar. Click on this option to initiate the process of creating a new certificate.
Step 3: Domain Selection and Verification Methods
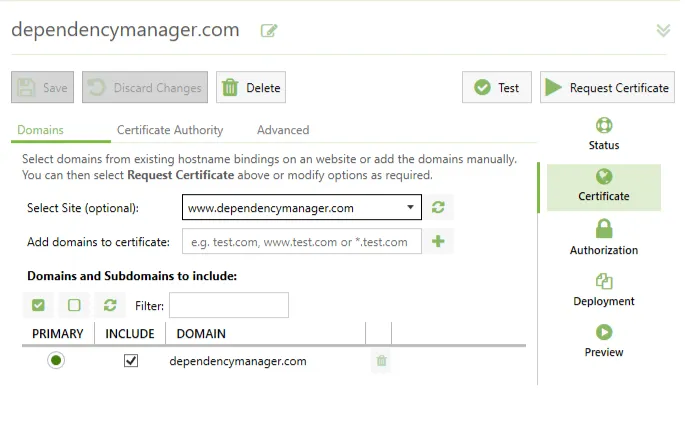
1.During the certificate creation process, you should add the domain names you wish to protect (e.g., www.example.com).
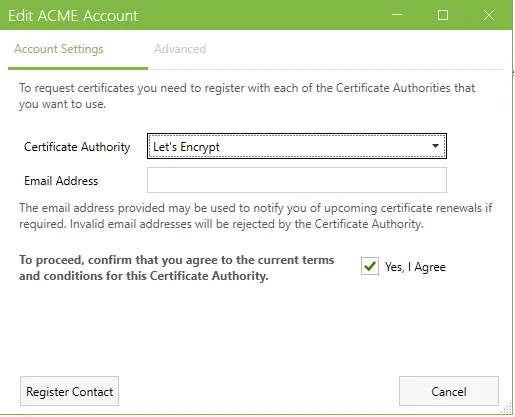
2.Certify the Web offers various methods to verify the ownership of your domain. Choose one of these methods. Usually, you can opt for HTTP or DNS-based verification methods.
HTTP-Based Verification:
- When HTTP-based verification is selected, Certify the Web will automatically create a special file in a designated folder on your server. This file is used to verify that your domain is accessible.
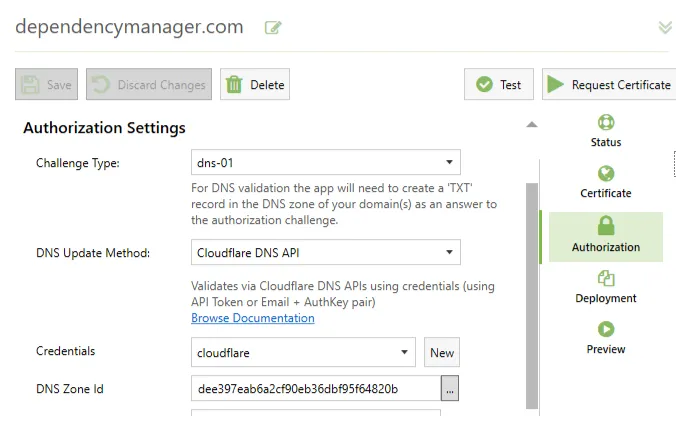
DNS-Based Verification:
- If DNS-based verification is chosen, you might need to create a specific DNS record. This record assists the certificate provider in verifying the ownership of your domain.
Step 4: Certificate Issuance and Installation
1.Once the verification process is completed, Certify the Web will automatically obtain the SSL/TLS certificates.

2.To manage the generated certificates and install them on your IIS server when needed, you can use the “Certificates” or a similar tab or menu.
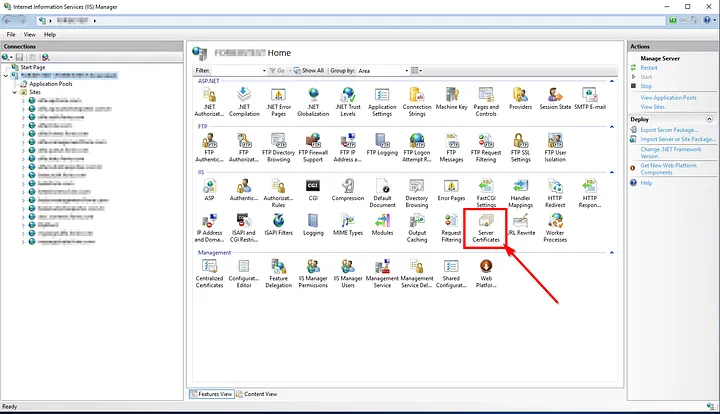
Step 5: Using the Certificate on the IIS Server
1.While Certify the Web handles the certificate issuance, you need to activate these certificates on your IIS server.
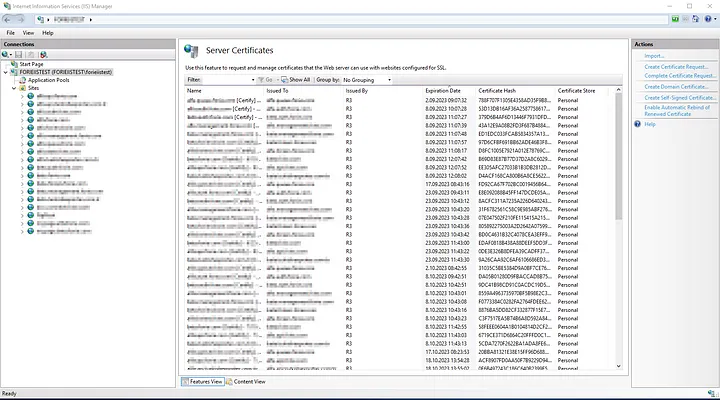
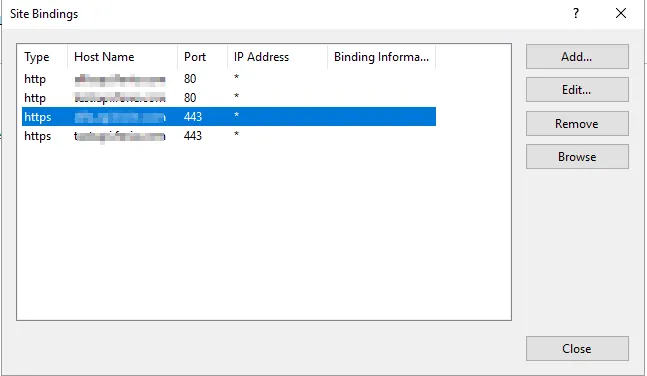
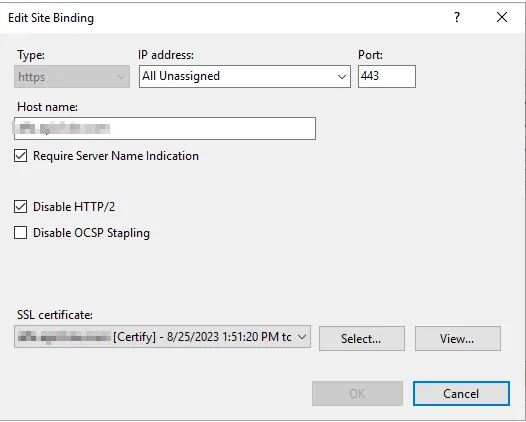
2.In the IIS management interface, navigate to the connection security settings of the relevant website.

3.Select the newly acquired SSL/TLS certificate as the server certificate.
Data security is a paramount concern while managing your online presence. The Certify the Web tool simplifies the process of SSL certificate acquisition and management by making it easy and automated.
If you have any questions or details you would like to add, feel free to write me.