Azure VM: Resolving the c0000034 Fatal Error
What is the c0000034 Error?
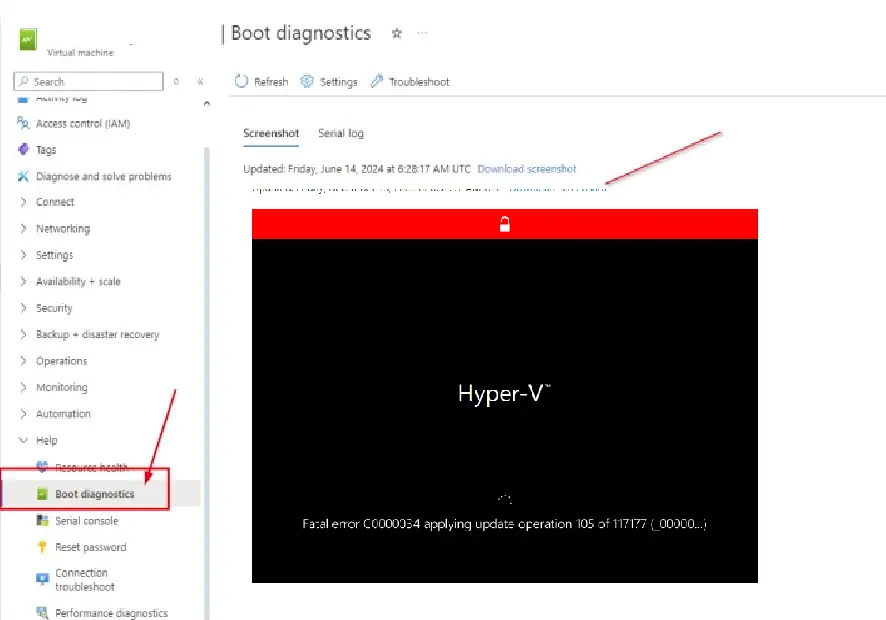
The c0000034 error is a fatal system error in Windows that typically occurs when registry files such as SYSTEM and SOFTWARE become corrupt. Without these crucial files, the system is unable to boot properly. The solution to this issue involves replacing these corrupt files with backups of healthy versions.
Solution: Steps to Fix the c0000034 Error in Azure VM
You can resolve this issue by accessing the corrupt disk and restoring the registry files from a backup. Follow these steps using the Azure portal:
- Stop the Faulty VM
First, go to the Azure portal and stop the virtual machine experiencing the error. This ensures that you can safely modify its disk without interference. - Create a New Virtual Machine
Create a new virtual machine with the same operating system and disk size as the original. This new VM will be used to access the disk from the faulty VM and make the necessary changes. - Attach the Original VM’s Disk to the New VM
Attach the disk from the original virtual machine to the new virtual machine as a data disk. This allows you to access the files of the faulty VM without booting it. - Start the New VM and Connect to It
Start the newly created VM and connect to it using Remote Desktop. - Assign a Drive Letter to the Attached Disk
Once connected, open Disk Management on the new VM. Assign a drive letter (e.g., D:) to the attached disk, so it is accessible from File Explorer. - Backup the Corrupted Registry Files
Navigate to the attached disk, and go to C:\Windows\System32\config. Here, you will find the corrupted registry files:- Rename the SYSTEM file to SYSTEM.old.
- Rename the SOFTWARE file to SOFTWARE.old.
By renaming these files, you are effectively backing them up in case you need to revert the changes later.
- Restore Healthy Versions from RegBack
In the attached disk, navigate to C:\Windows\System32\config\RegBack. This folder contains backup copies of the registry files:- Copy the SYSTEM and SOFTWARE files from the RegBack folder and paste them into the config folder, replacing the corrupted versions.
- Restart the New VM
After replacing the corrupt registry files, restart the new virtual machine. If everything has been done correctly, the VM should now boot without encountering the c0000034 error.